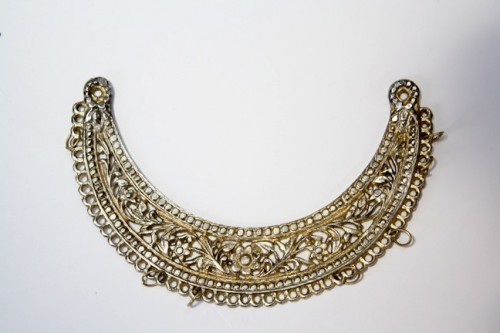
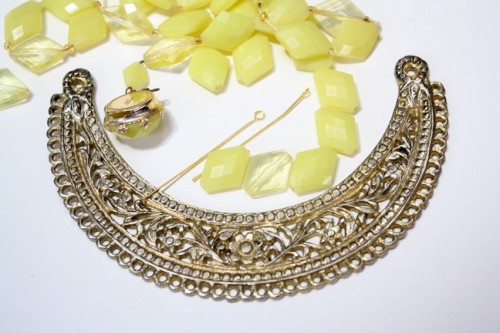
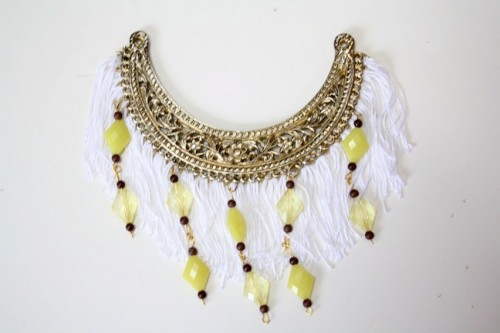
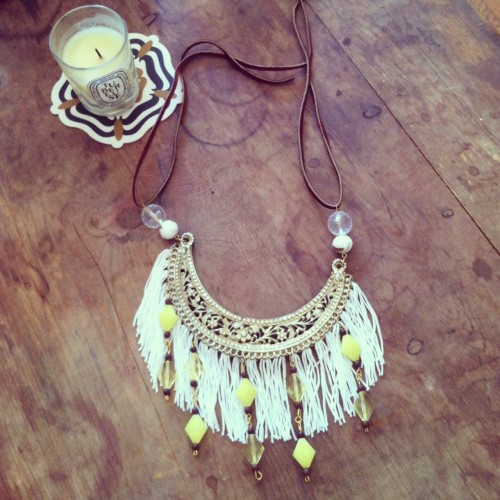
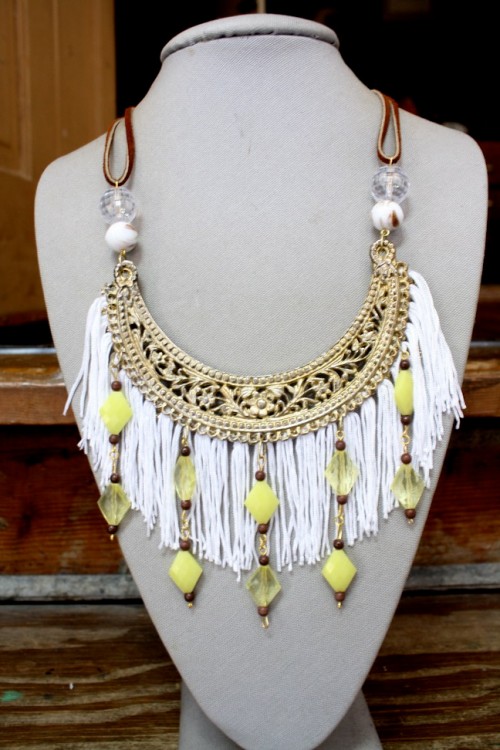
Today's necklace DIY is one of my favorites!! I started with this metal plate that was taken from another necklace that was falling apart. (You can see the scattered jump rings leftover on a few of the holes from things that used to be hanging off of them!) Using this as the centerpiece of the necklace, I began thinking about what to dangle from the bottom!
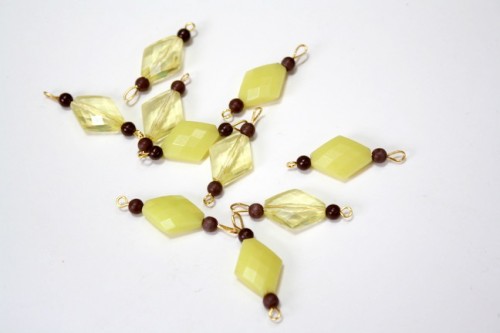
I found a stash of vintage beads in shades of yellow...
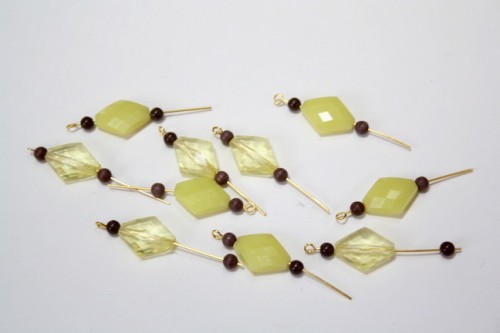
...and started to form ten sets of opaque and clear yellow with brown beaded patterns on eye pins.
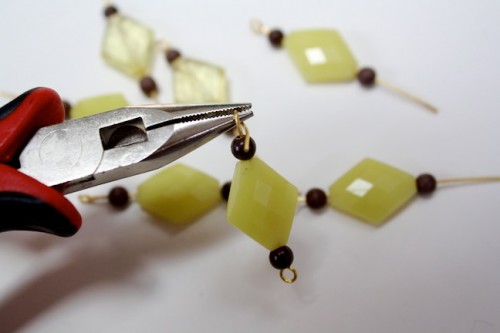
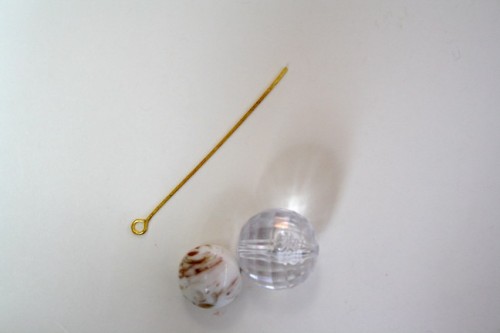
With the beads on the eye pins, I rounded the edges of each pin into a loop with jewelry pliers.
My finished group!
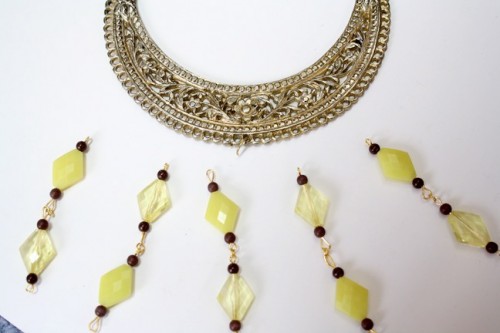
I connected two sets of my bead groups and set them down to see where they'd hang best.
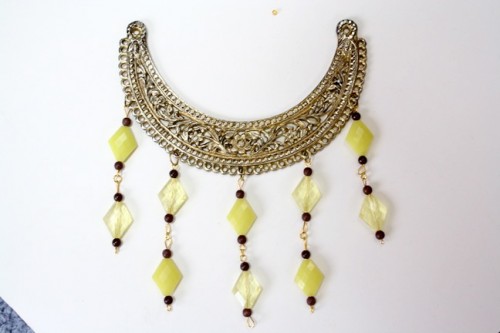
I counted the holes on the necklace plate to make the bead placement even, and connected my beads to the plate with jump rings.
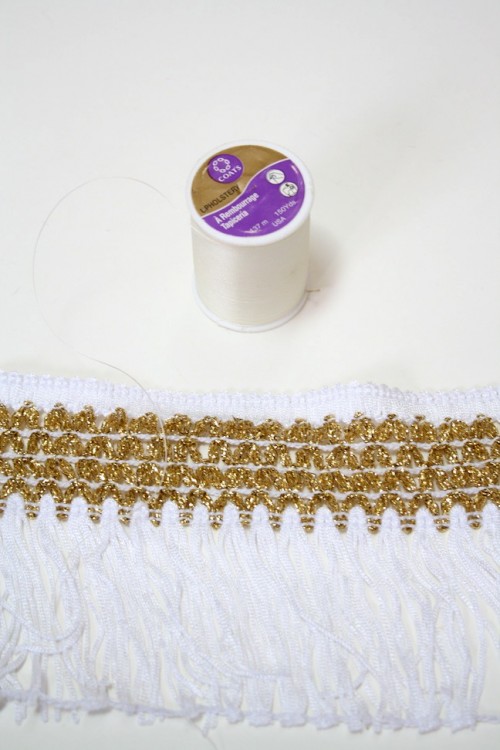
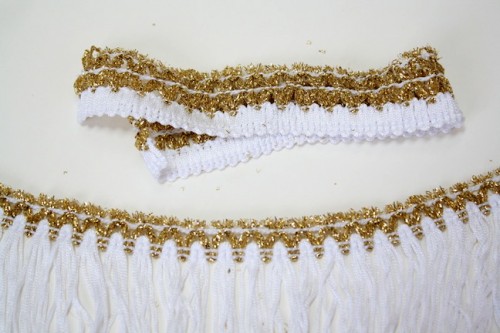
It doesn't stop there!! To give the piece a little extra something, I took some white fringe and thread...
...trimmed off the gold edging of the trim that wasn't going to be seen...
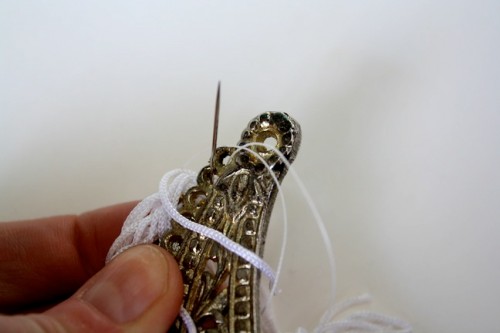
...and began stitching the trim to the necklace on the back side. The holes on the plate worked perfectly to hand stitch the trim to the necklace.
After a few minutes, the trim was secure!
I'm using suede trim to keep this necklace around my neck, so I worked on two final sets of larger beads to be the spacers between the suede and the necklace plate.
How 'bout that for a brand new necklace??
I wore it out with pals and paired it with a simple white tank - you really can wear basics with this necklace, since it's a total stand out piece!
I've been seeing this trend everywhere, so now I have my own, DIY'ed version!!
The perfect statement necklace, right??

