DIY: Tie Dye Embellished Sweatshirt (á la Beyonce)

OK, I'm part of the Bey-hive.

Amazing Bey art by GNODPop

Amazing Bey art by GNODPop

I love me some Beyonce. 🐝🐝🐝 I got a little inspired when I was in Paris over the summer and was peeping all of Queen Bey's Formation posters littered across the city promoting the tour.

fc5f73409eba8b96ede8771a6dfe0185.jpg

I said to myself, I want to slay too!! So, a Beyonce-worthy top is what's getting crafted! I was feeling the French spirit while singing "I Slay" over and over and over on my trip that I thought, what if I found out the French translation for that phrase and embellished my hoodie?

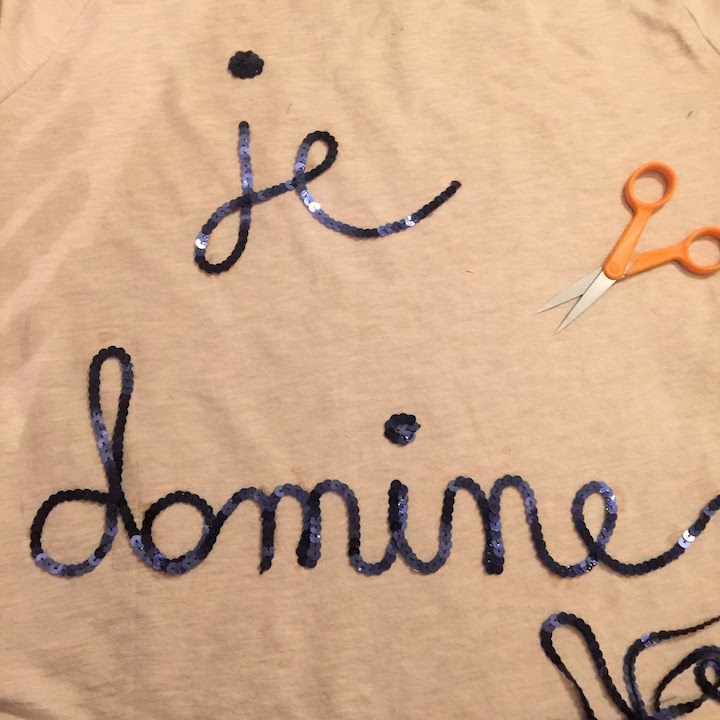
Je domine means "I dominate" so  it looks like we've got our saying! I began with a thin cotton H&M sweatshirt and some sequin trim for lettering! I was inspired by a post on A Beautiful Mess using sequins...

Meow

...and wanted to create something similar!

I pinned the sequins to the shirt to hold them in place while forming the lettering and then used Aleen's Fabric Fusion to actually affix the sequins to the shirt!

Je domine

But then what happens when you wear your new shirt out to dinner and you spill what you ordered on it? You get that bottle of tie dye ready to go. 

IMG_7291.JPG

I grabbed a bottle of Tulip One-Step dye in blue (I wanted to match the navy sequins I used) and began the process by getting the top completely wet!

Blank T Shirt

Whenever I dye clothes I try to keep a pair of rubber gloves on hand just to avoid dyeing of the hands as well!

Once the piece was totally wet, I folded the top in an accordion shape and added rubber bands. (These areas underneath the bands will be the portions of the top that won't change color!)

When the bands were all added, it was time to dye! I took an old baking pan and covered it in plastic wrap. (The things you do when you have to dye inside!)

With the Tulip dye, all you have to do is fill up the bottle with water and shake it to disperse the powder coloring. Once the dye is mixed it's time to squeeze onto the garment!

Love the blue! 💙

We're so close!

Once the shirt was saturated with dye, I let it marinate for 8 hours before cutting the bands and rinsing the piece out with water until the dye ran clear. Once it was dry, it was time to wear it again!! (Fingers crossed I don't spill something metallic on it next!)

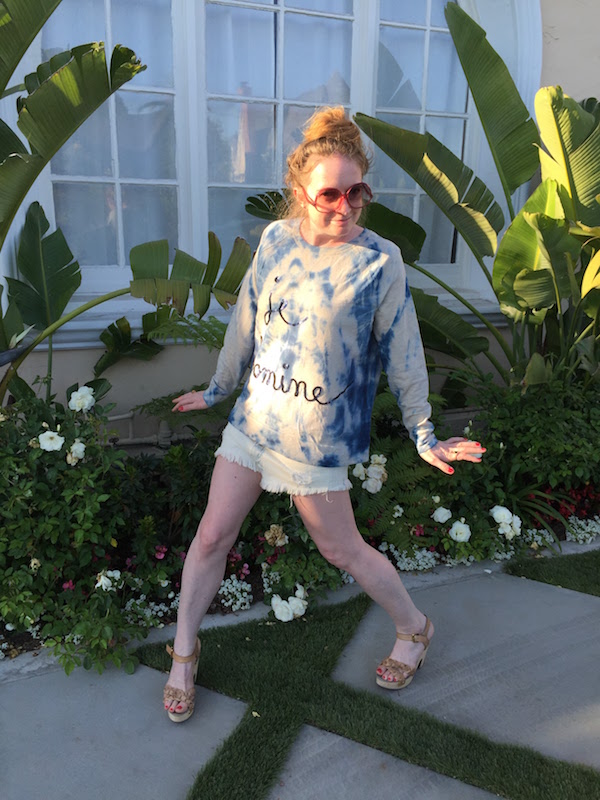
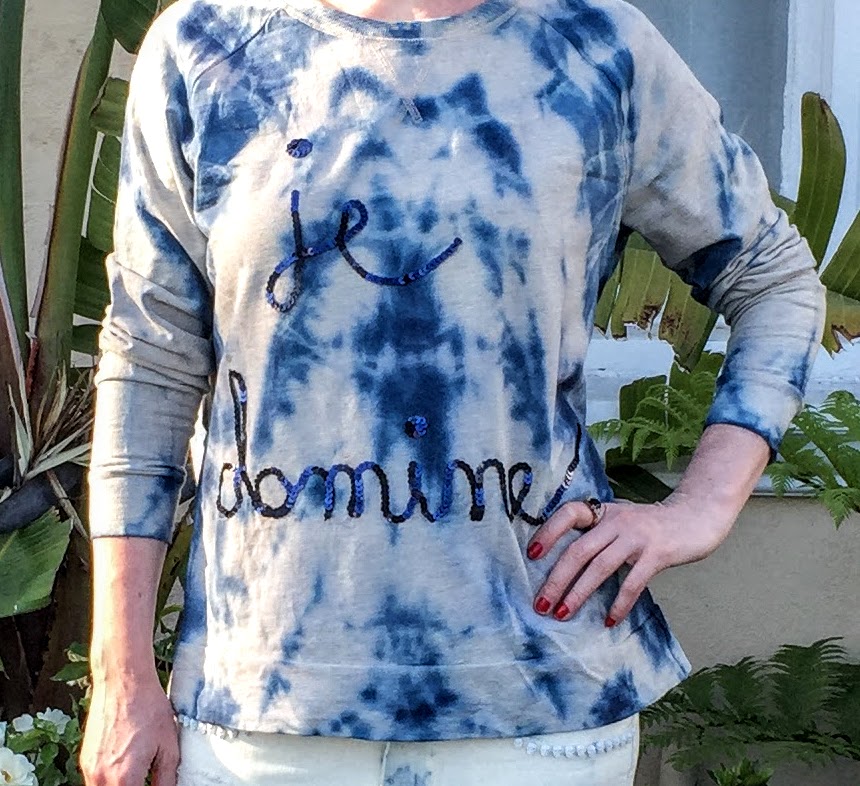
Dye success!

I Slay Sweatshirt

I'm totally rocking out to Beyonce right here! (Hello yard dance party!) 

Je domime

Spot be gone! Can't even see it anymore.

I Slay Before/After

Such a fun way to give a simple shirt some flair!

I might need to add sequined lettering to more things now...stay tuned!

Remake: Pink Floral Muumuu

You know that moment when you get into your car for the first time after it's been sitting in the sun all morning, and the heat literally envelopes you, and you feel like you might explode? What happens when it feels that hot ALL DAY LONG? You go as flowy as possible with that wardrobe!

Vintage Pink Floral Muumuu - 20

Hello, flowy!

Vintage Pink Floral Muumuu 1

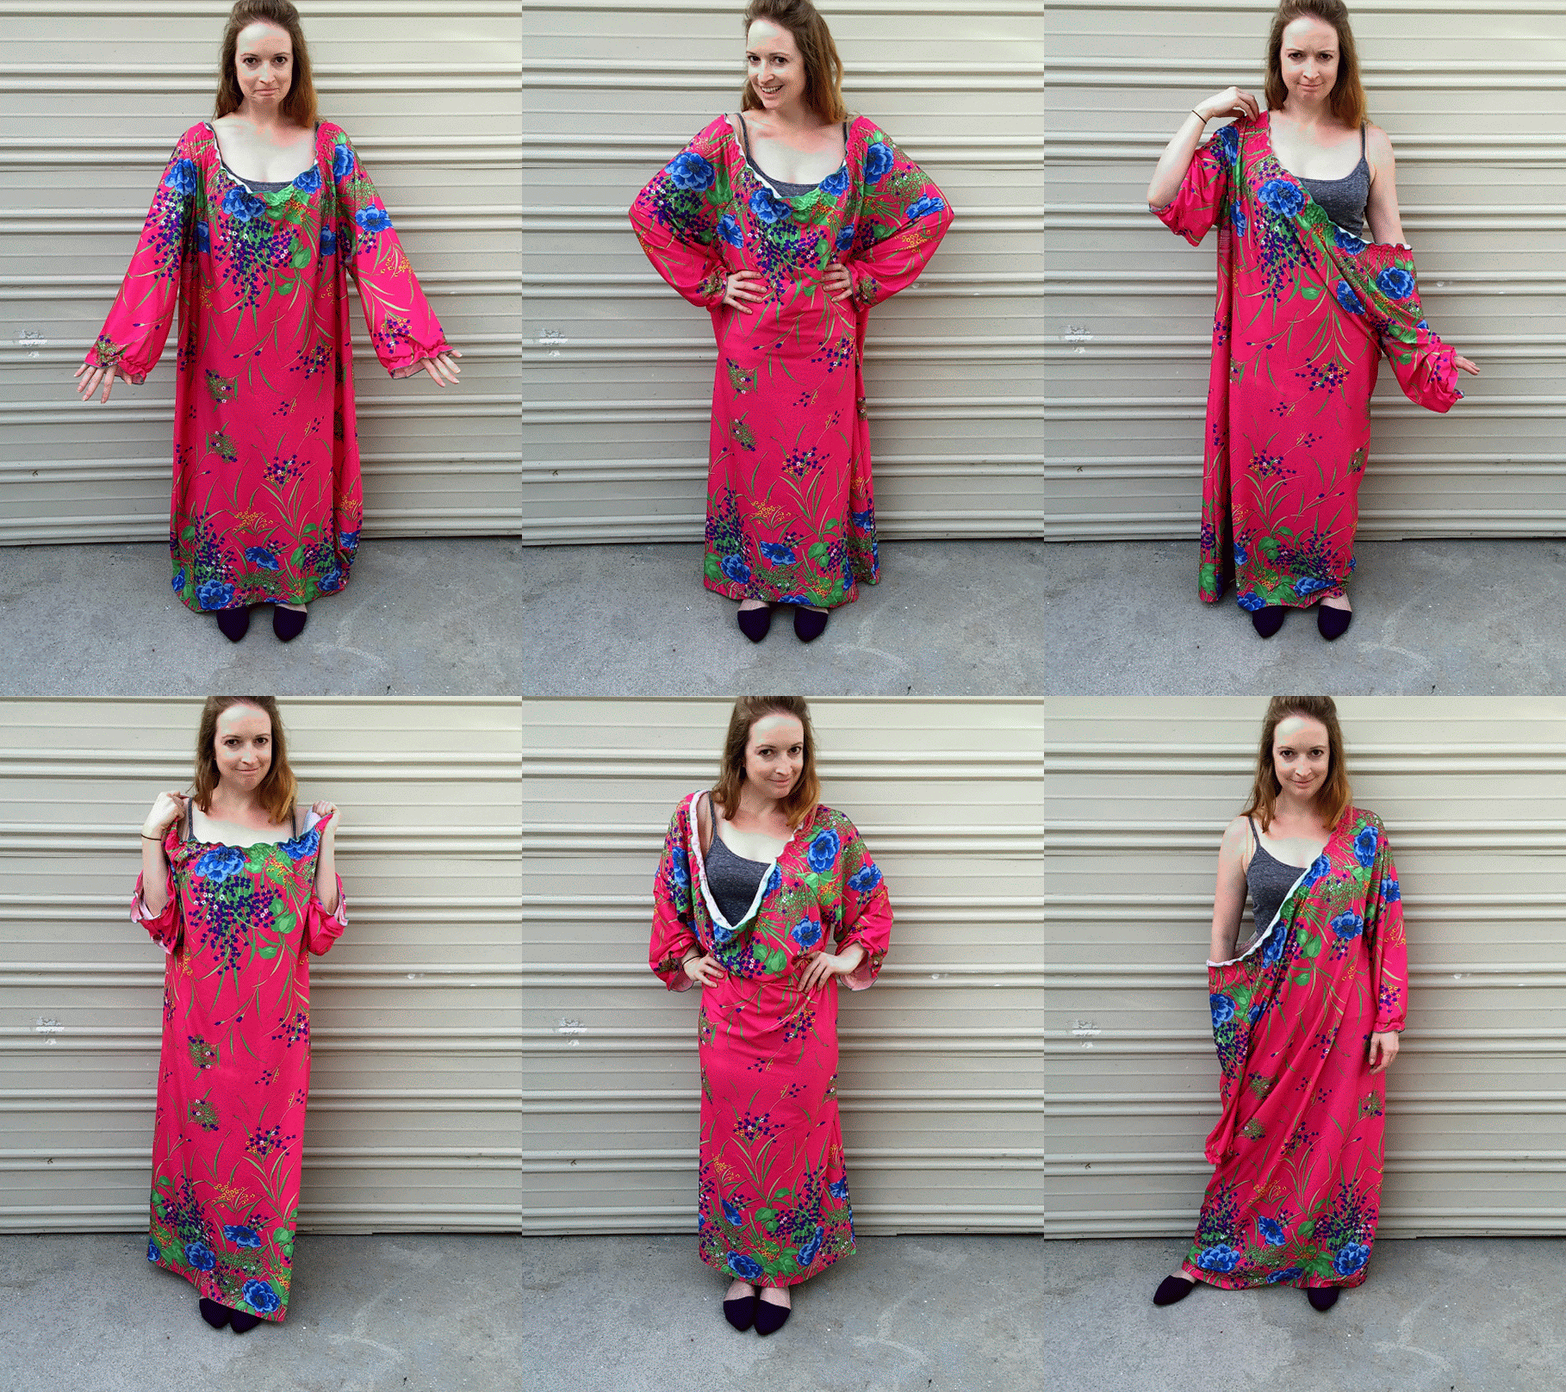
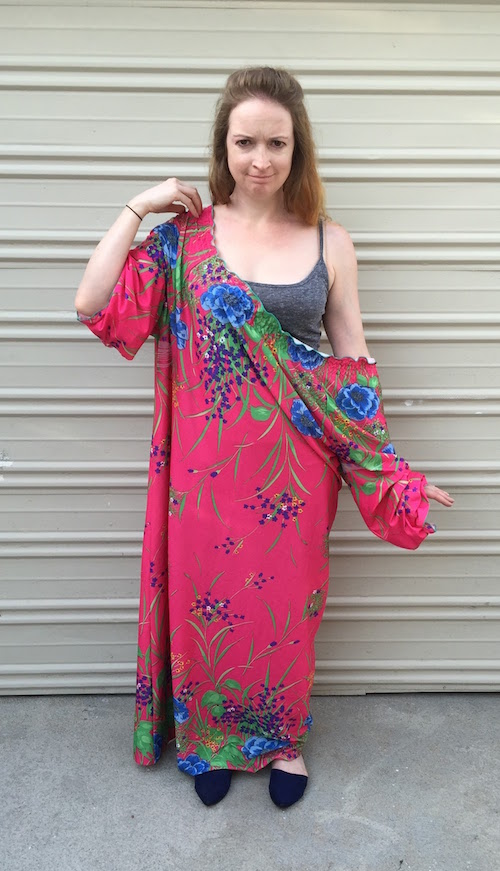
This muumuu is exactly the piece for that sweat drippity kinda summer day. A few issues, though...

Ummmmm...this is probably not going to cut it as is.

Ummmmm...this is probably not going to cut it as is.

It's just a bit too big for me. No need for flashing.

Vintage Pink Floral Muumuu 3

It's hot but not THAT hot. :)

Vintage Pink Floral Muumuu 4

Time to make this ready for the heat!!

There were lots of snags at the seams, but because of the sizing, things are getting trimmed and these issues will be in the leftover fabric pile!

Vintage Pink Floral Muumuu 5

Woo for no snags!

Next it was onto the actual cutting. Length got trimmed as well as the sleeves, and the body of the muumuu got taken in as well. 

Vintage Pink Floral Muumuu 5

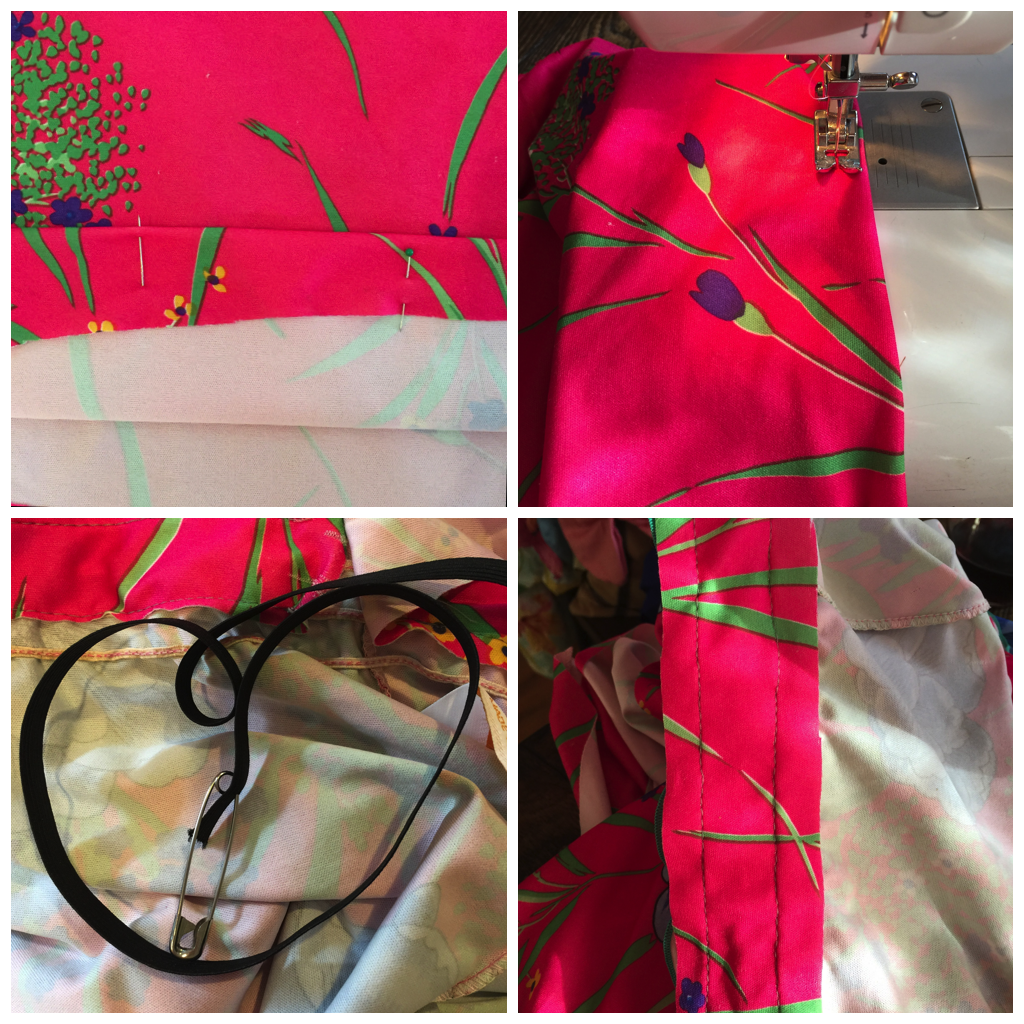
The bottom of the dress got prepped for a new hem before moving onto the neckline!

Vintage Pink Floral Muumuu 7

As you can see on the bottom right, I created two seams, with about an inch of space in-between. These are lying at the new neckline. (I added part of the leftover fabric and stitched it to the back of the current neckline.) New elastic is gonna live in the center of these two seams very soon! (PS, leave a little bit of space at the end of your seam - you'll need access for the next step!)

I took elastic and added a safety pin to the end of it to push through the space between the seams! New elastic neckline, here we come!

Vintage Pink Floral Muumuu 8

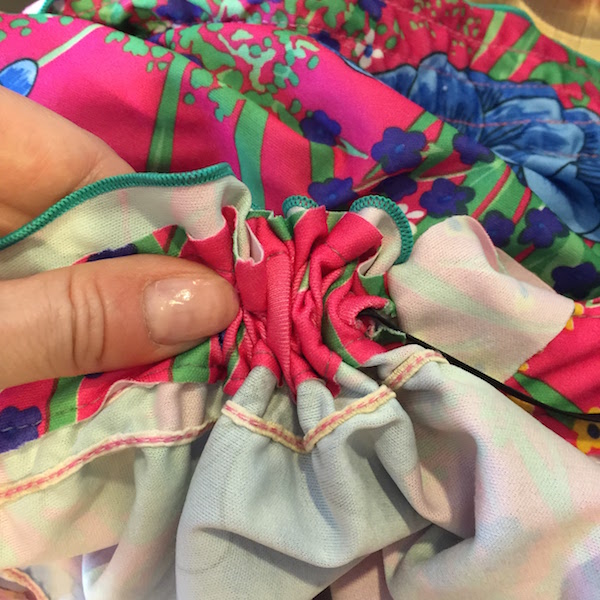
Once the elastic made the rounds around the entire neckline, instead of stitching the ends together, I pulled them together and tied a bow. This is going to help with making adjustments for how loose and how tight I want the neck to be. 

Vintage Pink Floral Muumuu 9

Off the shoulder action! 

Vintage Pink Floral Muumuu 10

I paired this piece with some Michael Kors heels and a green clutch! It's like I'm wearing a garden!

Vintage Pink Floral Muumuu 11

Cheese!!

Vintage Pink Floral Muumuu 12

Casual, comfortable, and COOL. Three key ingredients to the perfect ensemble.

Vintage Pink Floral Muumuu 13

I love this dress!! Seriously. I might even wear it to bed :)

Remake: Black & Pink Floral Dress

Hi friends! It's MARCH and the site is almost ready to be revealed!! Eeeeee!!! Thank you SO much for all your patience. Seriously. You guys are the best and I'm lucky to have so many of you cheering me on. To celebrate, we're going to kick it off BIG, so stay tuned!!

This post will be the LAST one you'll see with the site looking like it does and then it's on to somethin' new. Change is good, right?

Today's piece, a dress with a pattern to fall in love with! You had me at BIG. PINK. FLOWERS. (Seriously, j'adore.) But, there was a little extra hanging out there. Yep, looks like that lining was trying to get away!

And, on top of the "lining pretending to be trim" there was another maj issue. HOLES.

Not just one or two.

But more than I could count. They were everywhere on the bottom of the dress!

So there's some work to be done!!

Other work that needs to be done is the cleansing/purging of tons of old clothes that I've been holding onto for WAY too long. I moved into my new place close to a year ago and there are still boxes of stuff where I work on my dresses! It was time to make a move. Instead of a trip to Goodwill this go, I'm sending my gear to Schoola, an online thrift shop that donates 40% of proceeds to school arts, science, music, and phys ed programs. That is just the coolest.

I love that they send postage-paid bags and you can pick the school you'd like for the proceeds to go to (perfect if you've got kids/family currently in schools!)

I even scored a dress and a blazer that you'll see repurposed into a new piece shortly!

With a batch of clothes out the door, now my space is ready for more dresses! Now back to mending those holes!

I thought the holes were bad until I saw the not-so-pretty tarnished lining.

Once I saw how filthy it was I was ready to take the leap. I was taking all the lining out.

I started with the bottom portion...

...and then cut it out of the top of the dress as well. Lining, we don't need no stinkin' lining! (Especially on this already thick knit dress that isn't sheer at all.)

Next comes those holes. The easiest way to get rid of 'em??

CUT THEM OFF.

I cut off the bottom portion of the dress that contained all the holes and then made my way to the sleeves because I wasn't feeling the length.

With so much trimming, it was time to pin and prep for sewing.

I threaded my machine and got stitching!

After all that work, this is what my new dress looks like!

I love it - it's mod and feels super 60s which is my fave.

I paired my dress with over the knee Calvin Klein boots to finish the look.

I love the pop of grey in the boots bringing out the grey in the center of the dress!

I don't know, this print just makes me happy.

Throw pink flowers on anything and I'm going to smile!

From tattered and tainted to terrific!

This dress has become something that will be in my rotation for a long time to come!