I’m in the holiday spirit going nuts DIY-ing everything! From the mantle at home to my desk at work, there’s a bit of seasonal flair in all my spaces. I’ve been jonesing to make a custom t-shirt for YEARS that has one of my most favorite lines from my favorite Christmas movie (Home Alone!!!) on it and I finally made it with the help of Cobalt Cricut Explore Air 2!
This is the first time I’ve used a Cricut machine to create an iron-on appliqué and after crafting what I made, I’m obsessed. Everyone is getting custom gear beginning, now! The Cobalt Cricut Explore Air 2 cuts everything from cardstock and iron-on vinyl to specialty materials like glitter paper and bonded fabric, so I went with the iron-on vinyl to craft my T!
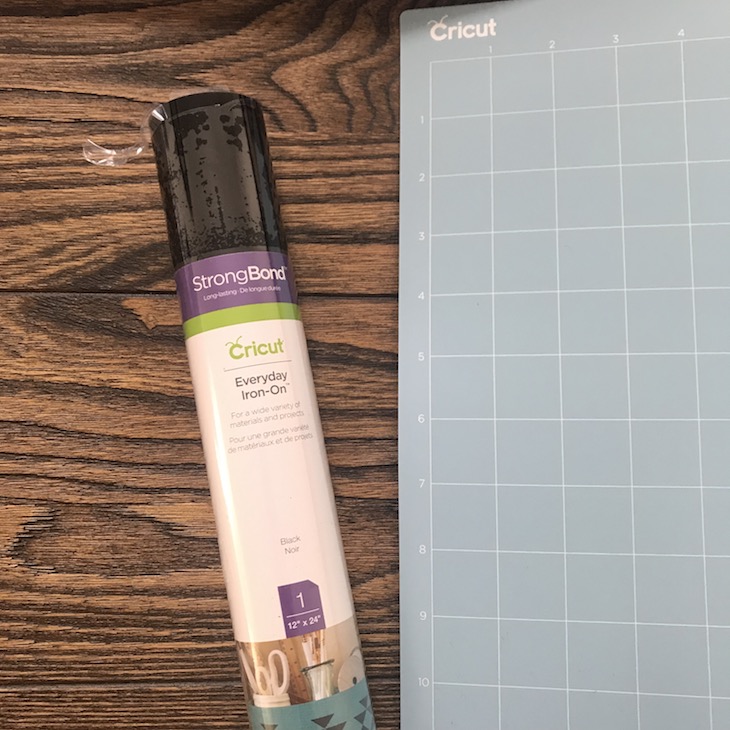
I wasn’t totally sure what colors I wanted to go with, so I snagged a few options from basic black to glitter and figured I’d make an executive decision once I started planning out my design! I snagged all my materials at JOANN (ps, the Cobalt Cricut Explore Air 2 is exclusively found there which just might be the perfect holiday gift for yourself!) including a few basic Ts and some Cricut tools.
I set up the machine up and started to plot out my creation! There’s one scene in Home Alone that always makes me happy. The pizza delivery scene! Kevin McAllister trying to order a pizza and using the audio from Angels With Filthy Souls to “talk” to the delivery person is just beyond classic. So, my shirt is an homage to the cherished film I look forward to watching each December!
I logged onto Cricut’s design site and began a new project worksheet - I typed in my quote and then selected a pizza image to use from the options on their site. Because I went with pizza, I used a red T shirt as well as the matte black iron-on vinyl. (I’ll use those glitter options soon!)
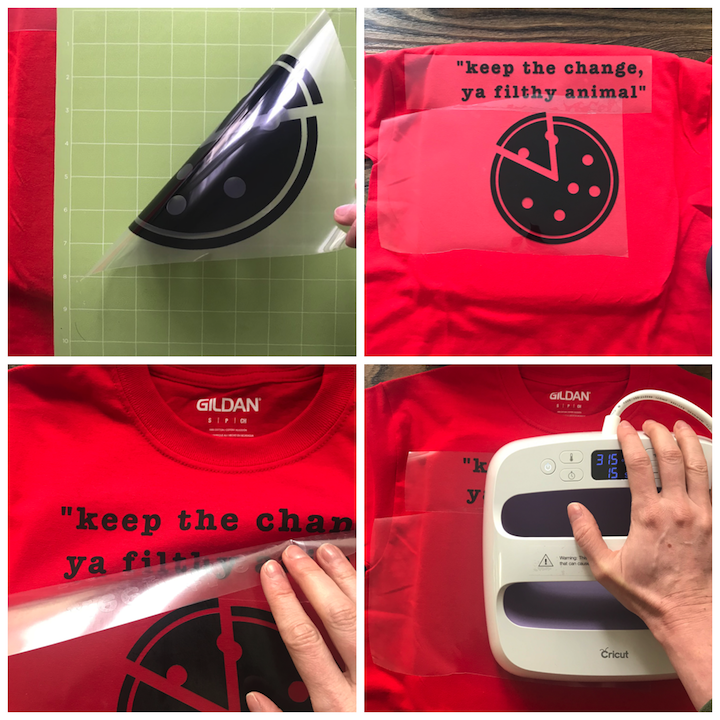
I took the black matte vinyl and attached it to the adhesive mat that came with the machine (rough side up) and lined it up in the machine before pressing start. And like that my font and image were getting cut out from the iron-on material. (I also followed all the directions on the site and watched a bunch of Cricut’s YouTube videos for extra help since I’m still pretty new at this!)
Once the material was cut, I pulled away the excess (or negative vinyl) with a weeding tool and then placed my design on my shirt, plastic side up.
Now it was time to affix the design I crafted! You can use an iron, but I tried out a Cricut EasyPress to heat the design directly onto the shirt. I programmed the tool for 30 seconds and in a jif, the design was set. After waiting for the plastic sheet to cool, I removed it from my shirt and had a brand new top to celebrate the holidays!
I can’t even begin to describe how happy I am!
I paired my new T with a vintage plaid knit skirt to dress it up a bit, but it’ll work with a pair of jeans or pajama pants depending on your holiday vibe.
I have all the feels for my new outfit!
Who wants to watch Home Alone with me?
I think Kevin would totally approve of my shirt...except he’d pick an all cheese pie instead of one with pepperoni!
Pizza + Home Alone = Best Night Ever!
I cannot wait to start zhuzh-ing some sweatshirts and old Ts to give them a second life with my new iron-on obsession!
Disclosure: This is a sponsored post created by me on behalf of JOANN and Cricut.


