Springtime is officially here and I've been SO inspired by watercolor prints as of late. I've been seeing all kinds of gorgeous dresses in stores...
(from L-R, Rhyme Los Angeles $98, Isaac Mizrahi $138.50, Kay Unger $700)
...that I wanted to create my own version!
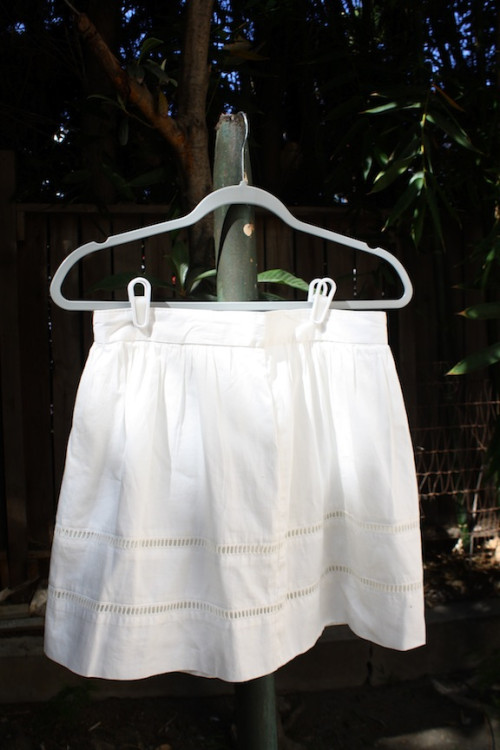
I started out with a white skirt (it's a fab white cotton Gap one) that I picked up at Goodwill...
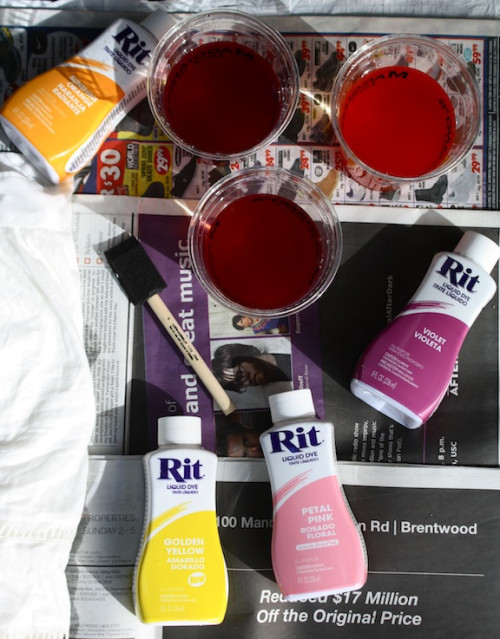
...and got together my dyes in multiple shades of springtime colors! Before adding dye to the skirt, I wet it completely to help the dye bleed into the piece in a natural way, à la watercolor paints.
I diluted the shades in cups of water...
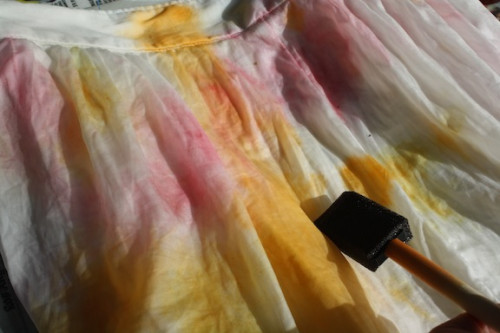
...and got to painting! I started off with the lighter colors, painting them on with a sponge brush, letting them bleed and blend into each other.
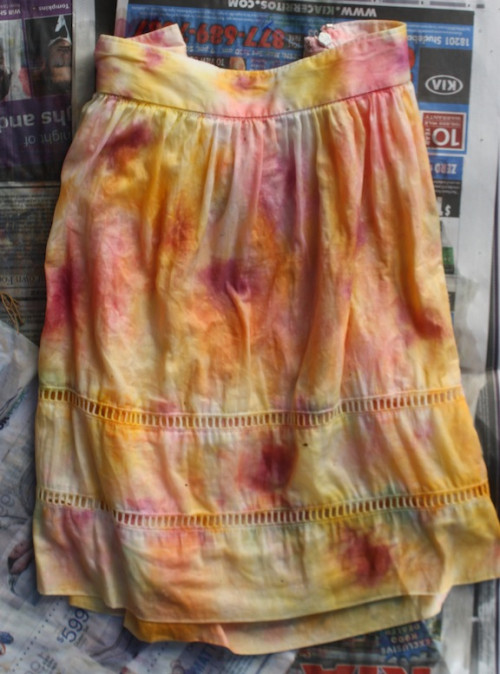
I continued with some green (to give an essence of leaves) and violet (for a flower effect) before letting the piece completely dry.
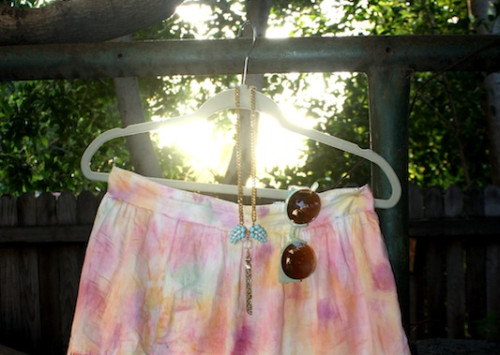
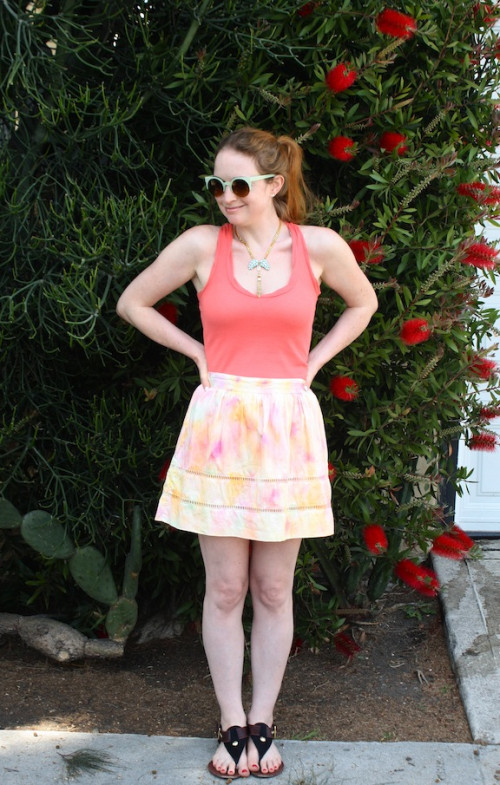
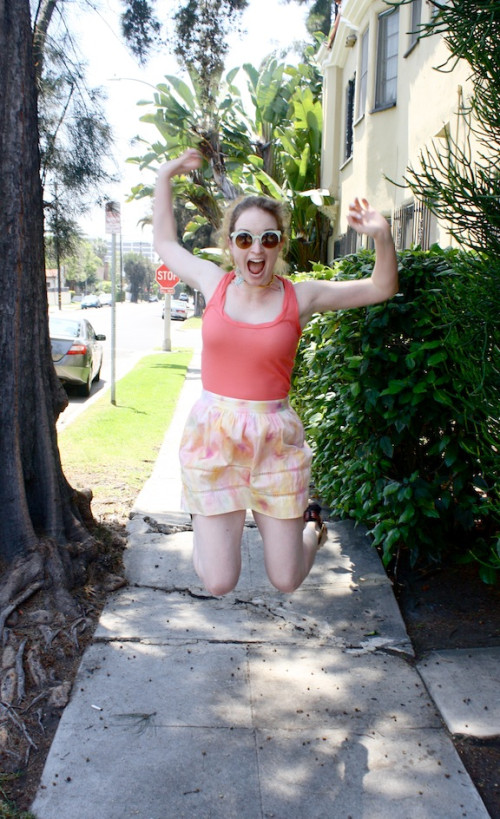
I gathered my accessories along with my DIY'ed skirt to create the perfect Easter ensemble!
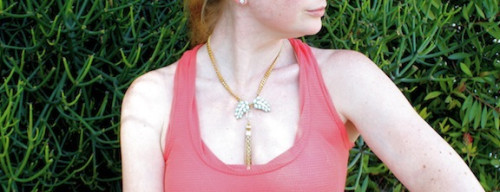
The sunnies are Forever 21 (these are similar) and necklace is by Honey Rose & K, this really cool line of vintage repurposed jewelry. It was made from a pair of vintage earrings, repurposed into a necklace using a beaded tassel and chain! How genius to take earrings and turn them into something that looks like this? Sidenote, they're actually having a 30% off sale on Tuesday between 3-7pm if you want to score some new pieces - I need to start looking at all the vintage jewelry that I have and get to brainstorming!
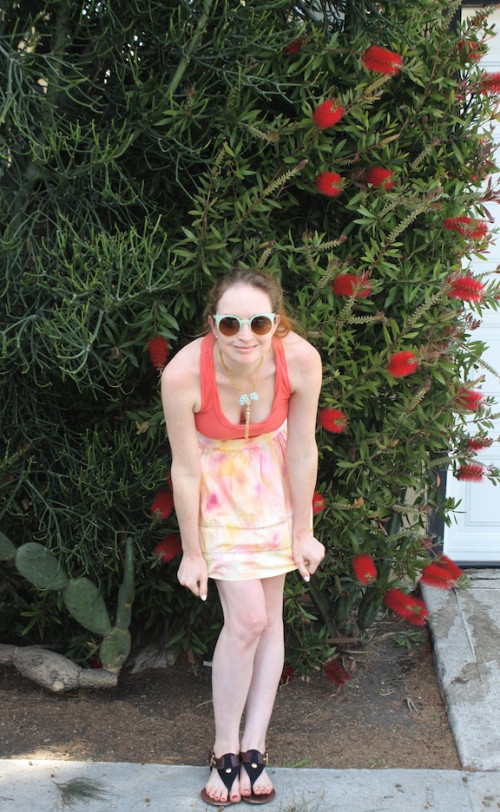
It was 80 degrees where I was, so all this skirt needed was a tank and some sandals!
I totally feel like this has a rainbow sherbet palette and should be scooped onto a cone! (Mmmm, cone!!!!!)
It's really such an easy project that even kids can get involved with! Just let them go paint-wild!
I love that my new skirt puts me in such a happy mood. Nothing like bright colors, warm sun, and some good Easter company to bring a smile to my face!
Hope everyone had an amazing weekend!!
(For those wanting a bit more detail of the dye process steps, head on over HERE to the Rit Studio to see a full rundown of the dye process.)


