Faith's NDAD Creation

This could be my new favorite piece! Faith knocked it out of the park. Just wait until you see what this shirt looks like now!

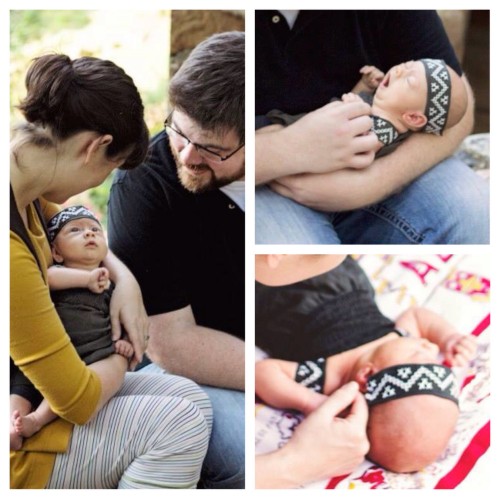
As a brand new first time mom, I didn't have time to scour the stores for the perfect outfit for my baby girl's one-month pictures. I wanted something feminine but not too girly, so instead of turning to expensive outfits online, I decided to make a cheaper option for this one time wear.

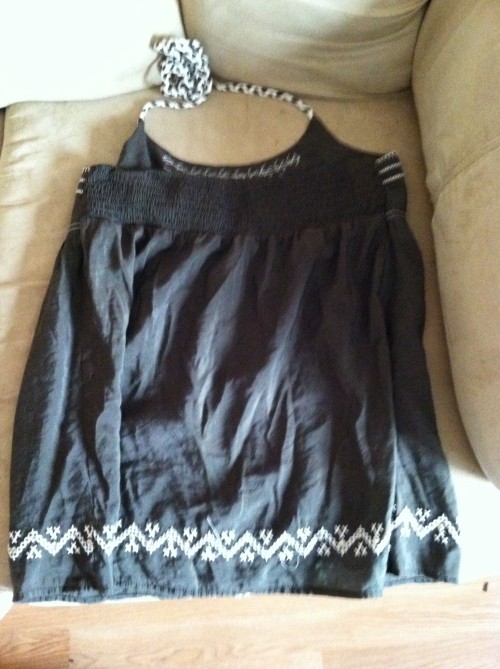
I scanned my closet for ideas. I found this top which a friend had given me to wear during the pregnancy. I loved the detailed stitching.


New Dress A Day - upcycled shirt

 I noticed the shirring on the back and knew it would make for an easy fit. 

Just wait until you see Faith's transformation...

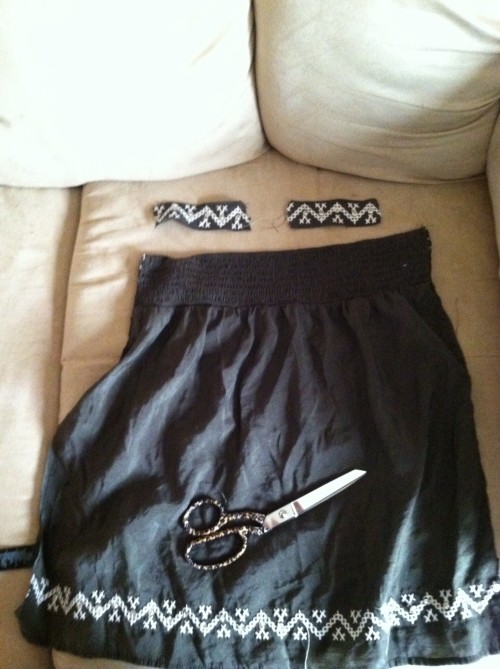
I cut out the back panel and sewed a single seam to make the tube of the dress. 


New Dress A Day - upcycled shirt

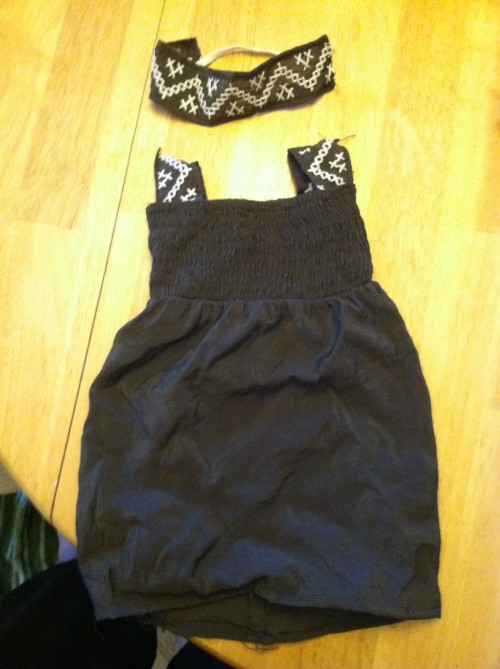
I cut and hemmed pieces of the decorative parts to use for sleeves. 


New Dress A Day - upcycled shirtNew Dress A Day - upcycled shirt

I cut another piece to sew to a scrap of elastic for a matching headband and lastly I cut the bottom of the dress to fit her and hemmed it.


New Dress A Day - upcycled shirt

The whole process took about fifteen minutes. I definitely plan to make more clothing for her out of my own discarded clothes - I like sharing with her! The outfit was great for the pictures. 


New Dress A Day - upcycled shirt

Next time I will make the arm holes bigger because babies are tricky to dress! We ended up cutting her out of the dress to keep from upsetting her before her next pictures. But the dress had done its job. And again - it was free!

This is upcycling at its finest! I just LOVE how you took that top (that you got for free!!!!!) and crafted it into something so gorgeous for your girl. Using the patterned trim as a little headband is seriously perfection! I can't wait to see the next outfit you come up with!

One Look: Two Ways: Pleated Floral Polyester Dress

I love outfits that get more than one wear in different styles! This dress got cut up a bit... New Dress A Day - Vintage Dress

...ok, maybe a lot...

New Dress A Day - Vintage Dress

...and got turned into this lovely piece.


New Dress A Day - Vintage Dress - Polyester

For the second wear, I turned it up a bit!

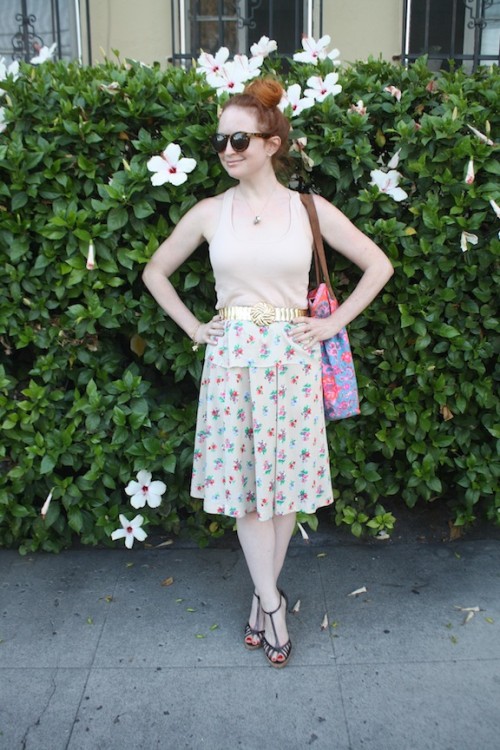
From tube top the first go, to flowy skirt for the second wear!

New Dress A Day - Vintage Skirt

I paired the skirt with a vintage belt, the same BCBG heels from the first look, and a nude Calvin Klein top to keep it neutral. I must say, both looks are comfortable and super chic.

New Dress A Day - Vintage Skirt

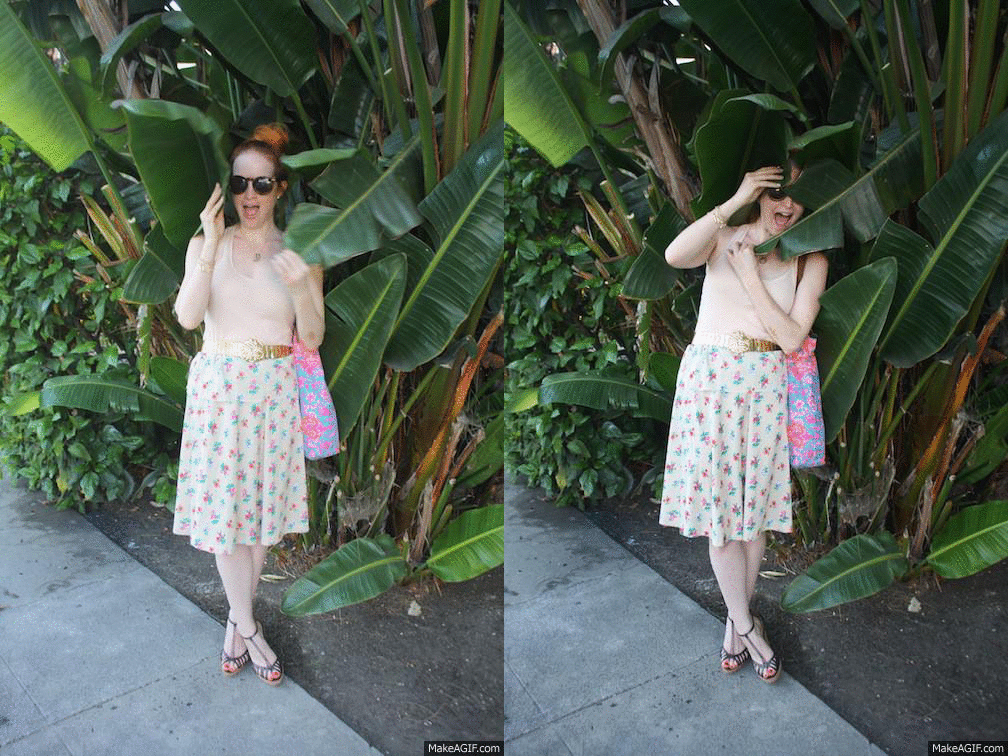
It's so much fun to play with these palms!!

ml on Make A Gif

make animated gifs like this at MakeAGif

From one polyester dress, to two different looks...

New Dress A Day - Vintage Skirt

Can't wait to get working on the top portion next!!

Tie Dye Backpack

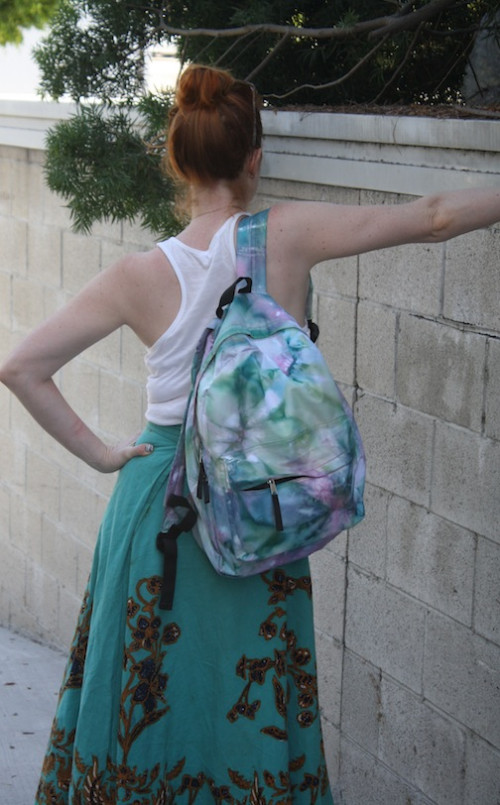
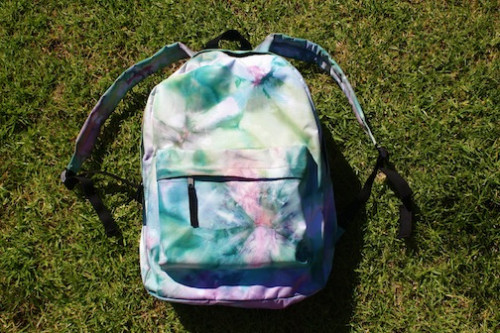
The best way to give a white backpack a little face lift for school? TIE DYE! I wanted to put together a fun tutorial that shows how to transform a basic white canvas backpack into something chic for campus. DIY - Tie Dyed Backpack

A little DIY action will make this budget backpack look like you spent beaucoup bucks! The hardest part was picking the dyes!

DIY - Tie Dyed Backpack

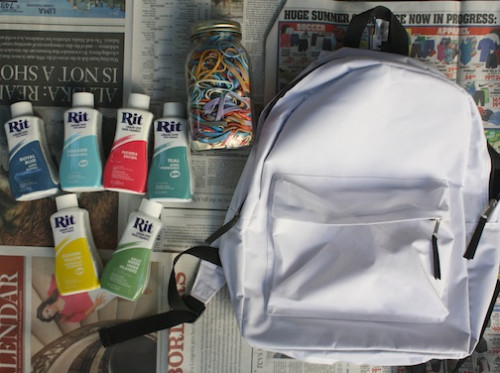
All you need is:

Canvas backpack: (I got this one for $10 at Forever 21, but you can thrift one, use one that you have already that needs an update, or hop on over to Target to grab something!)

Dyes: I went with an assortment of brighter colors, but pick any palette that suits your fancy!

Rubber bands/gloves: Gloves are a lifesaver for your hands when you're dyeing! Make sure you protect those fingers.

Time to get to work!

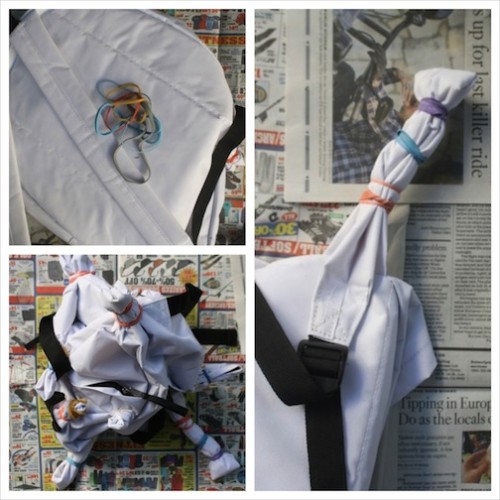
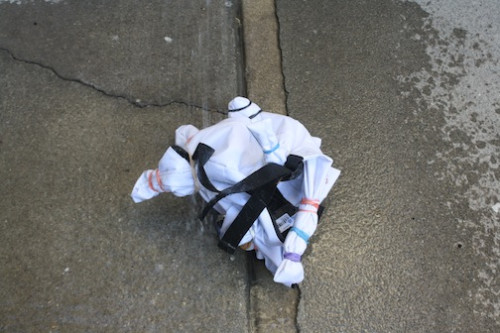
I began to add rubberbands to the backpack next. I pinched a section of the backpack, put a rubber band around the gathered area, and then continued to add bands every few inches.

DIY - Tie Dyed Backpack

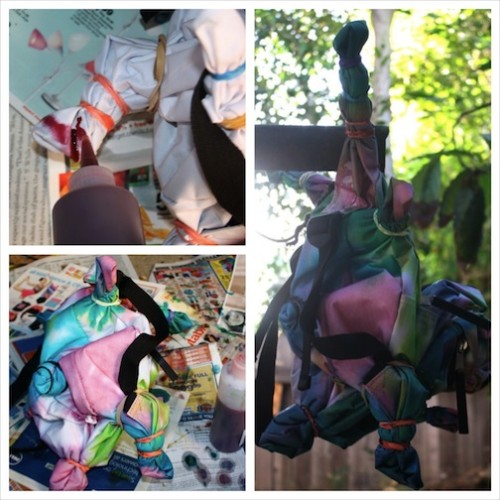
I put the backpack under water until the entire piece was saturated.

DIY - Tie Dyed Backpack

Now it was time to add dye! I added dye to plastic bottles to make it easier for application onto the backpack. (Don't forget to wear gloves!)

DIY - Tie Dyed Backpack

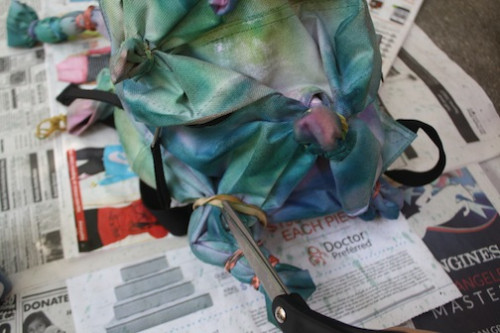
Once enough dye was applied, I let the pack dry overnight and when it was dry, I snipped off the rubber bands with a pair of scissors. (It's so much easier trimming them off than trying to pull them off with your fingers, especially if they're tight!)

DIY - Tie Dyed Backpack

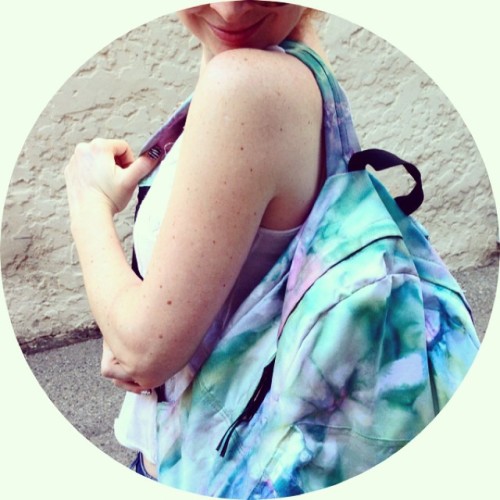
From all white, to fashionably dyed!

DIY - Tie Dyed Backpack

What a fun way to get your hands a little dirty to create something so cool for school?

DIY - Tie Dyed Backpack

It's also a great trick to revive an old backpack to make new again!

DIY - Tie Dyed Backpack

If spots are on the darker side, just use darker dyes to hide! This is going to be my new go-to computer travel bag since back to school isn't completely relevant to me anymore! (PS, I miss school!!)