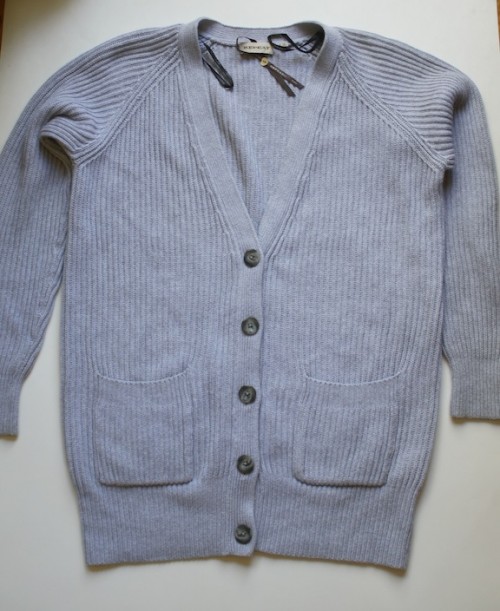
I'm a cardigan girl, so when I set eyes on this by Boden sweater, I knew I needed to DIY one of my own!
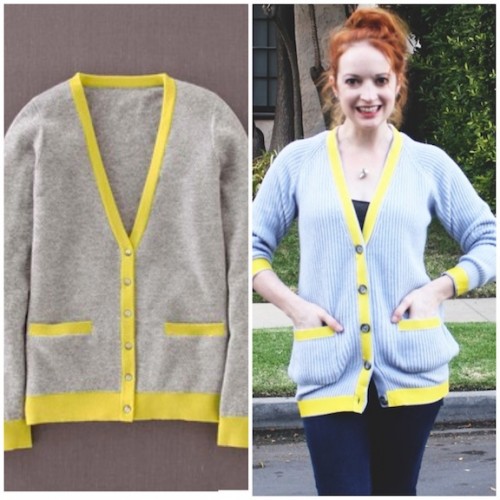
I had an almost identical grey sweater in my collection – aside from some thicker ribbing – but this sweater is something that can be snagged anywhere from Old Navy or Target, to a local thrift store.
(Sidenote – this is a project that can work for pretty much any sweater that you might have in your closet.)
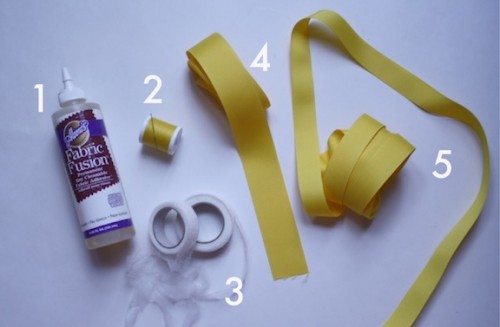
Here’s a rundown of the supplies you’ll need:
1. Fabric Glue (this is an option if you don’t use #3, Stitch Witchery)
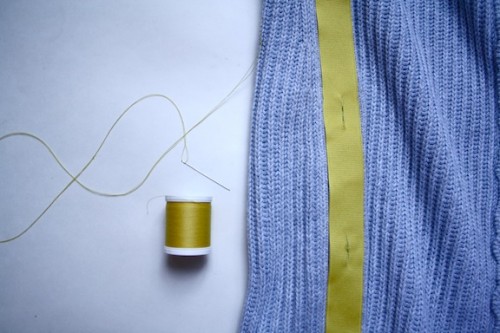
2. Needle and thread (grab a color that matches the selected ribbon)
3. Stitch Witchery (this is how I made this sweater, however using fabric glue or a sewing machine works fab too!)
4. 7/8″ Ribbon (trim for everywhere except the cuffs and bottom edging)
5. 1 1/2″ Ribbon (trim for the cuffs and bottom edging)
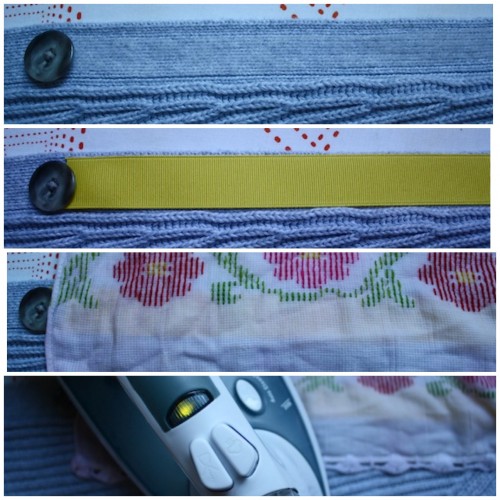
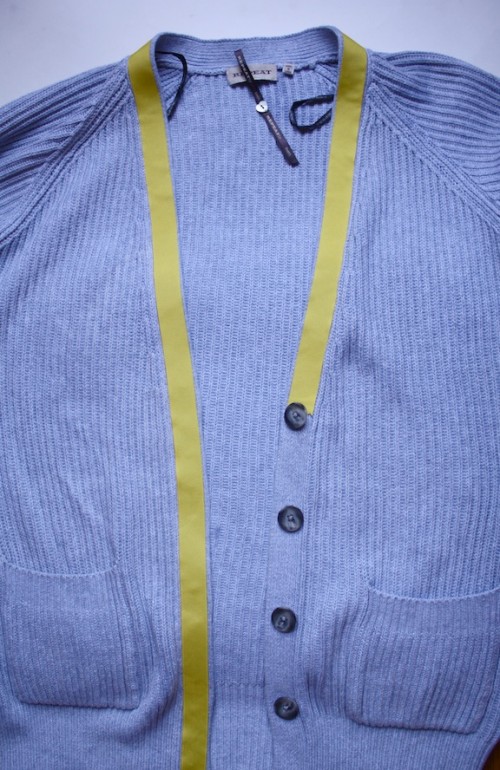
The first step is to add ribbon (7/8″) around the inner, V-neck portion of the sweater. Stitch Witchery is the route I’m taking to adhere the ribbon to the sweater. In a nutshell, SW is a fusible bonding web material that with heat (and a little bit of steam from an iron) sticks fabrics together. I placed the Stitch Witchery down, added the ribbon on top of it, placed a wet rag on top of both layers, and then pressed everything down for a few seconds.
Post-pressing, my ribbon was in place. Stick, stack, stuck!
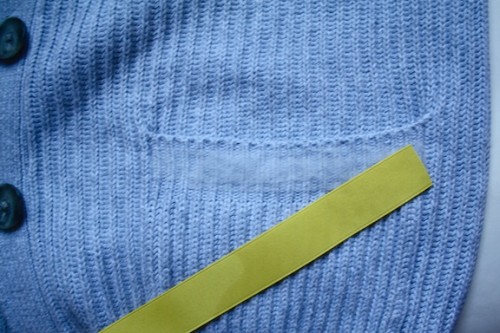
I repeated the previous step with the trim of the pockets…
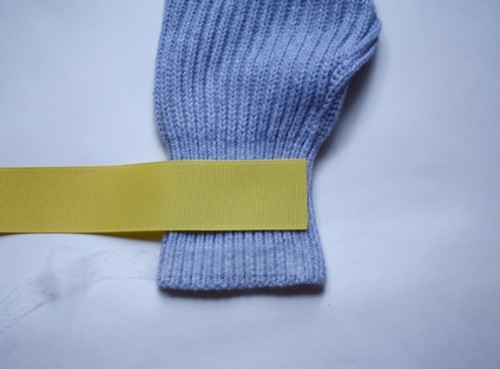
…and the trim of the cuffs. To match the thicker stripe on the cuffs of the original piece, I used the 1 1/2″ ribbon here.
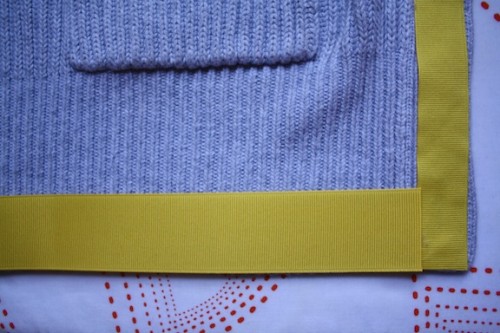
Same goes for the trim around the bottom of the sweater. The previous Stitch Witchery/iron down operation was repeated with the 1 1/2″ ribbon to line the bottom edge.
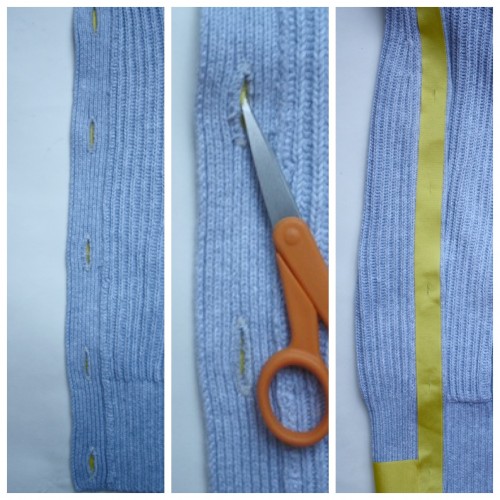
With the ribbon in place, the next step was adjusting the buttonholes. Because the ribbon was covering them up, they needed to be reopened. I took a pair of scissors and snipped slits in the ribbon from the underside of the sweater to open them back up for business.
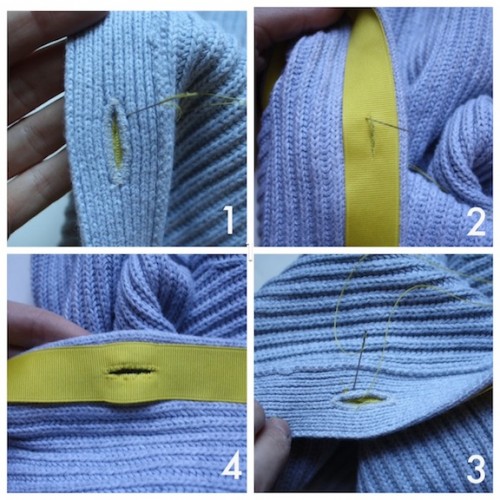
To avoid ribbon fraying in these buttonholes, I took the matching thread and needle…
…and created finished buttonholes using an overcast stitch. (Feel free to skip this step and use clear nail polish or Fray Check to stop any unraveling as well.) To make an overcast stitch, I began from the underside of the buttonhole and pulled the needle through (1), and then brought the needle back down on a slant through the buttonhole (2). Next I brought the needle back through the underside of the fabric again (3) and then repeated these three steps until the buttonhole was completely finished (4).
My new cardi is complete!
I love that it turned out just like the original by Boden piece!!
Using some ribbon, you get a whole new feel with a basic!
I originally saw this sweater on an actor from one of my fave shows so I crafted a post for HelloGiggles as well! Head on over if you're curious...
I'm going to be wearing this a LOT this season!!


