Remake: Mauve Polyester Dress
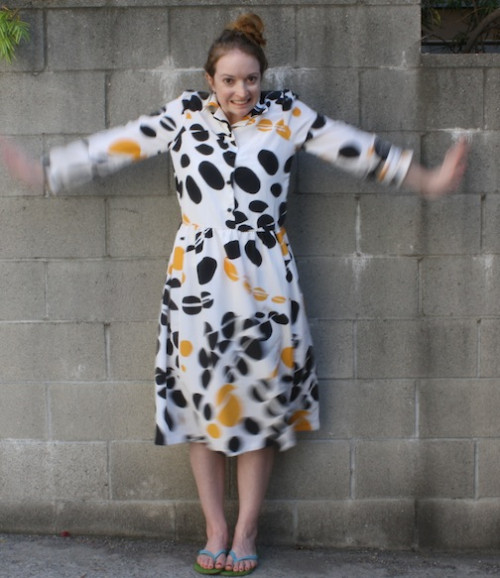
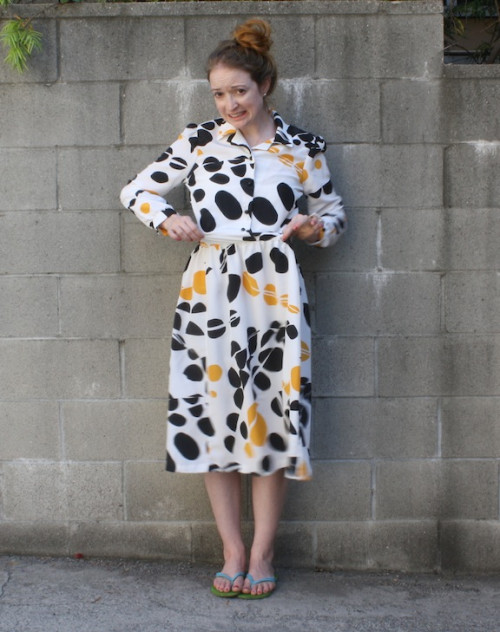
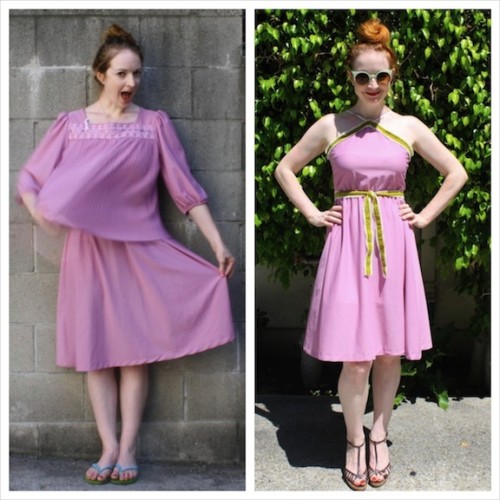
You saw the teaser of this piece yesterday...
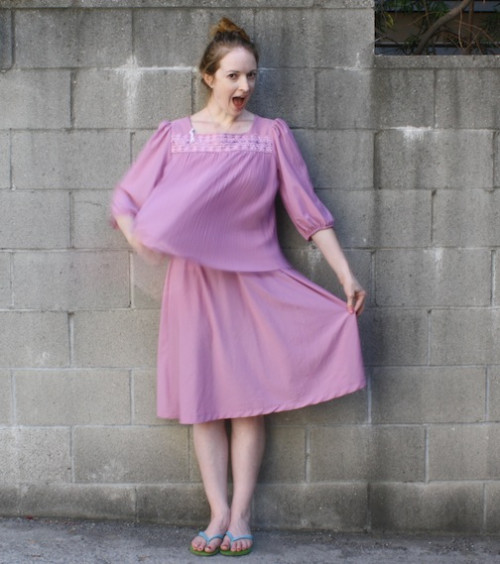
...and gave me plenty of ideas of what you thought I might turn it into!
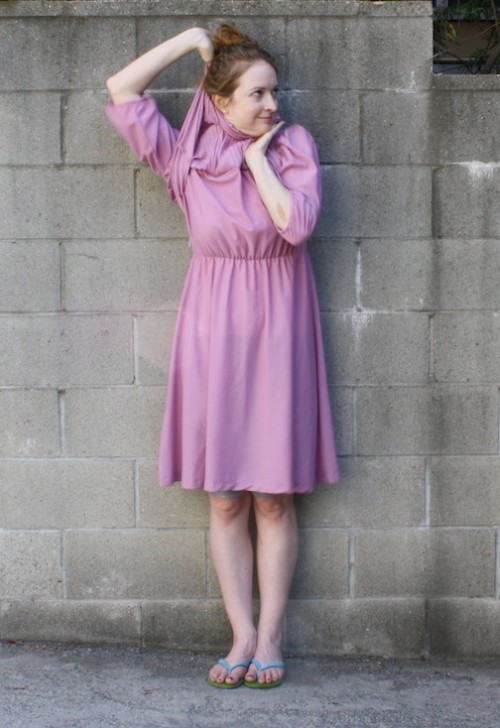
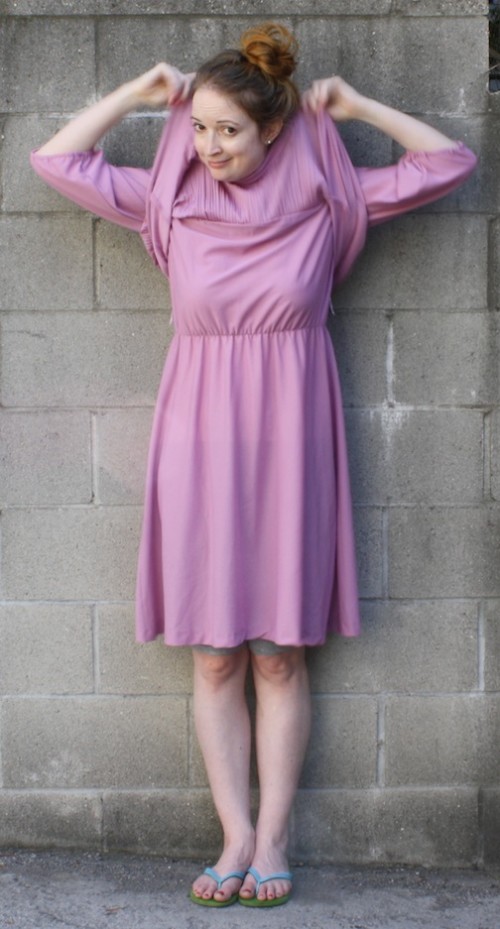
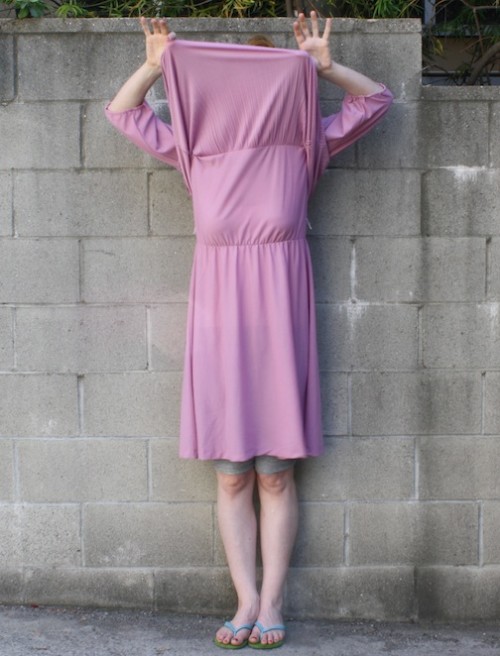
There's absolutely no way of flashing anyone wearing this!!
The key factor to this dress was the layered top!
I had an idea of what I wanted to create...
...but loved hearing what you had to say! From cap sleeves and dye to strapless and shortened, you had some fabulous ideas. Want to see what it looks like now??
I started by removing the shirt portion of the dress. It was a whole other layer on top of the dress that I cut off!
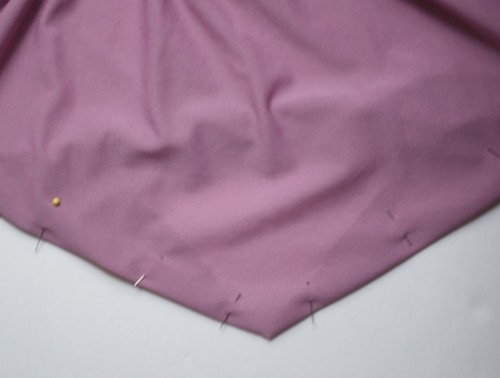
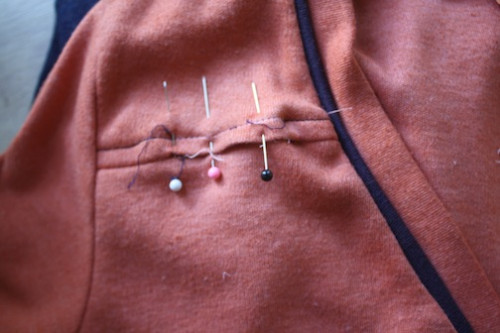
That shirt portion will be used again very soon, but today I was focusing on the bottom layer. I played around with the top of the new dress a bit and created a triangular shape with it, pinning under the raw edging.
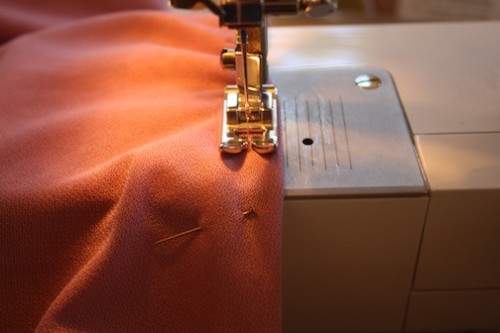
I stitched this shape in place...
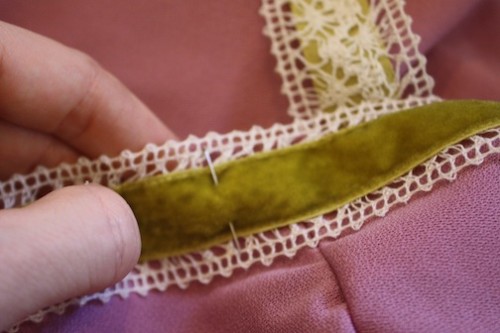
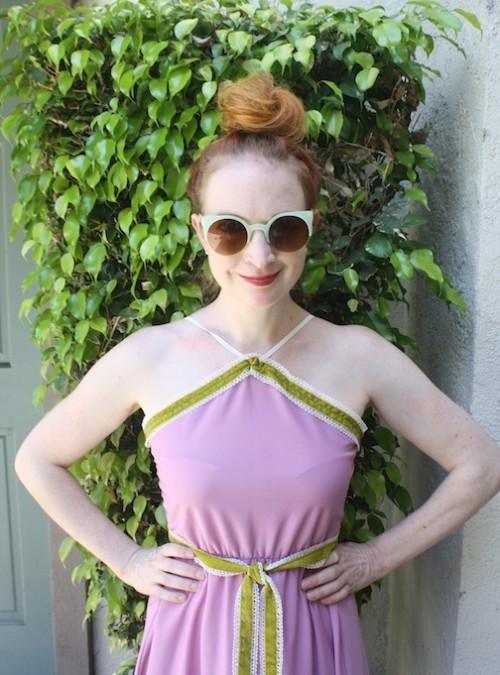
...and then moved on to adding some trim to the edge. I used this gorg May Arts velvet ribbon as my trim and pinned it on top of the new seam that I just created at the top of the dress.
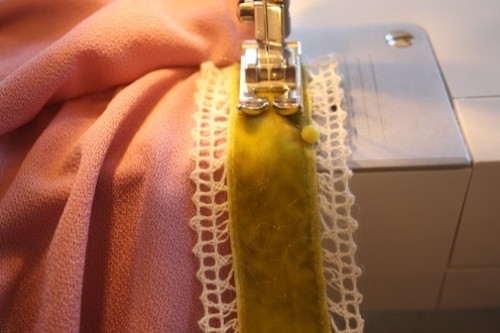
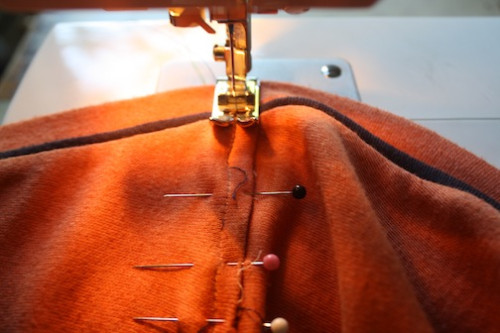
I stitched my trim in place...
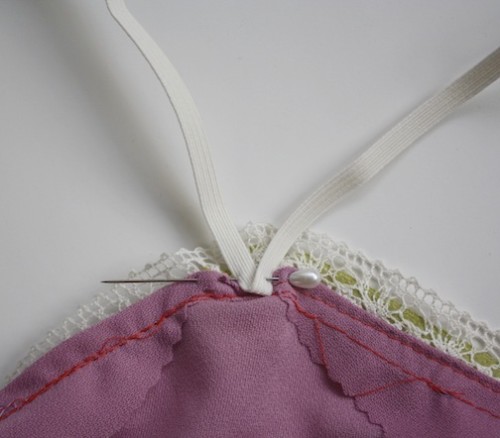
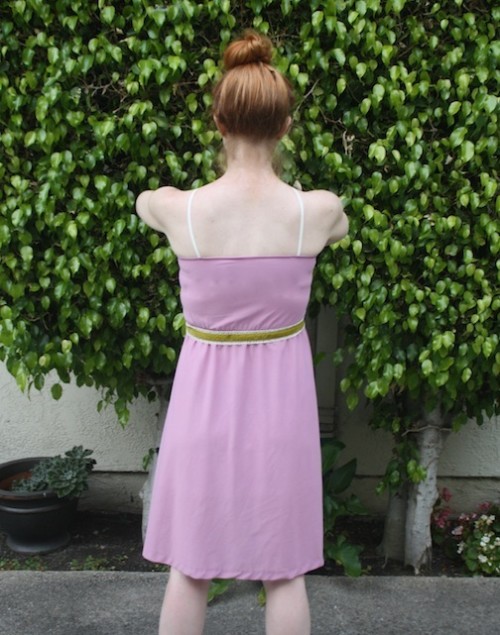
...and then moved onto the straps! Using a long piece of elastic, I folded it in half and pinned this portion to the point created at the top of the dress.
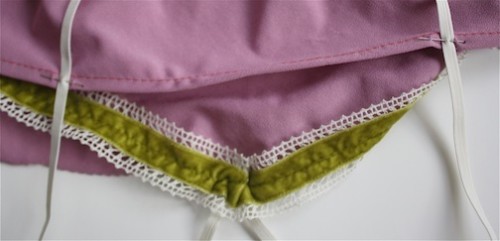
Next, I pinned each individual piece of elastic to the back of the dress after measuring the exact amount to fit me.
After measuring, I hand stitched all the elastic in place to secure.
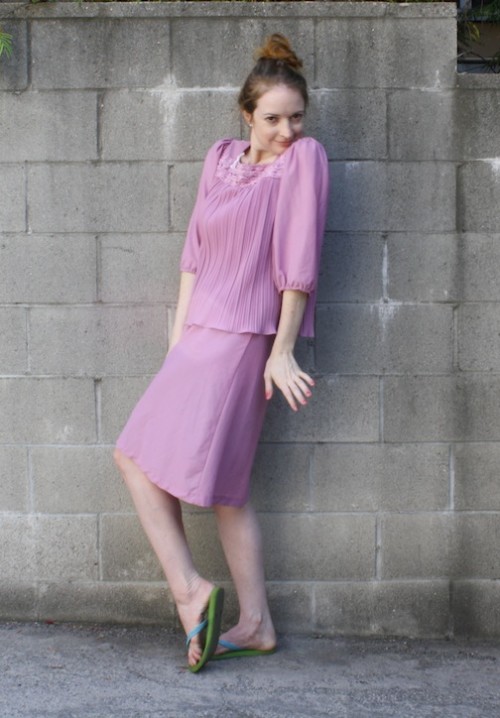
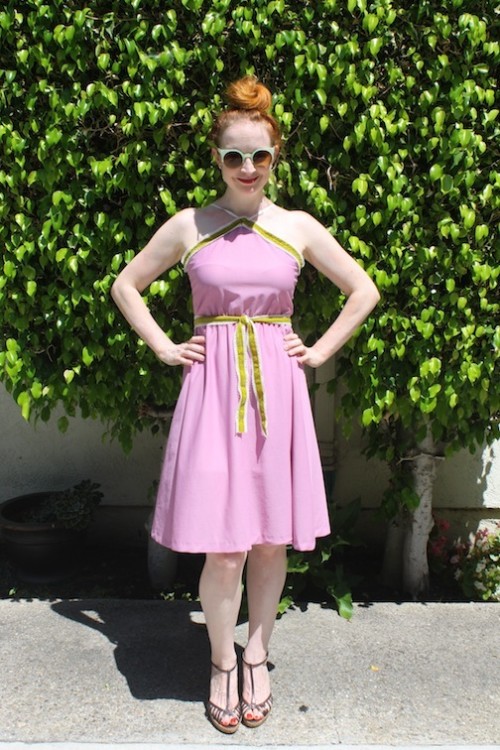
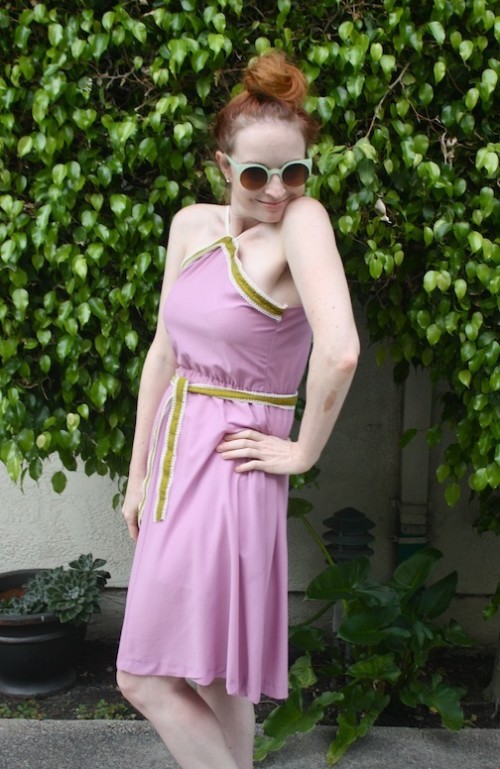
From vintage "mother of the groom" dress that Lauren called out yesterday in the comments, to a new and summery look incorporating more colors into the mix!
It really is so comfortable for being 100% polyester!
I just love the top of the dress now - this new shape gives it a whole new look!
To tie in more of the green color, I belted another piece of the ribbon at my waist.
I sunscreened up and had my dress to kick off the week!
I loved hearing all the comments of what you think would work best!! I'll have to keep that up and check in with you guys before I post.
So fun to hear your creative ideas!
Remake: White & Denim Dress
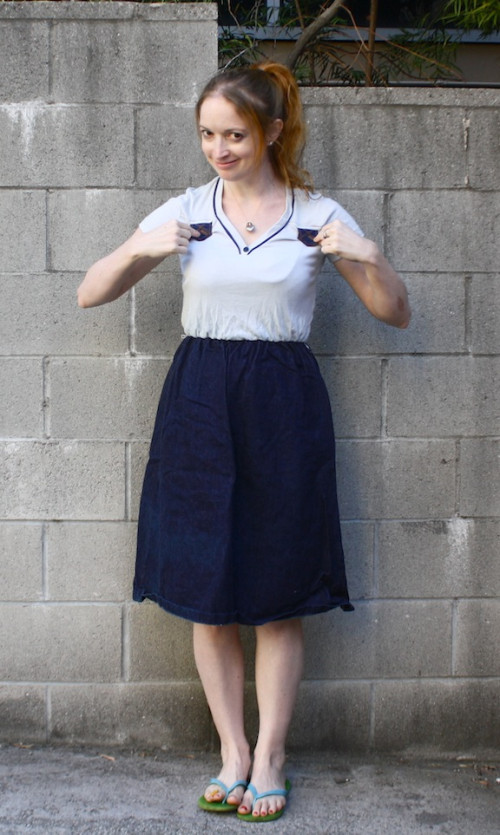
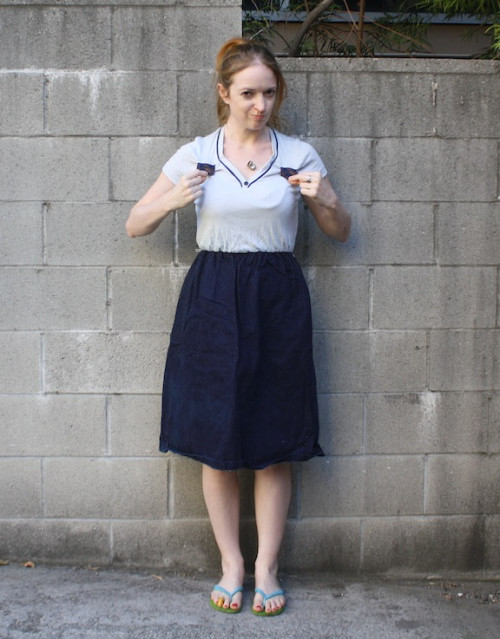
You saw this dress last week...
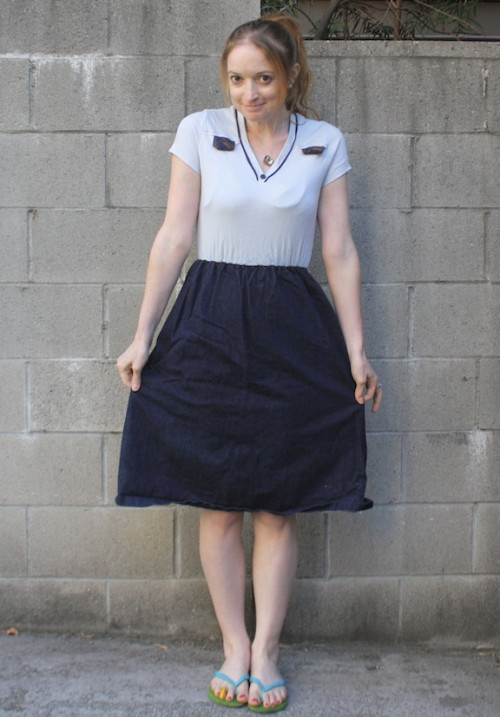
...when I reached out your way to help me pick out what color to dye the top of it!
Those appliqué/pockets were the best!!
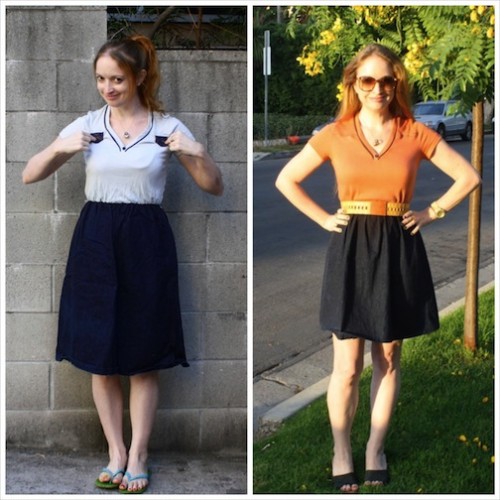
And by best, I mean had to go!! The votes were tallied and the winning color was coral!!
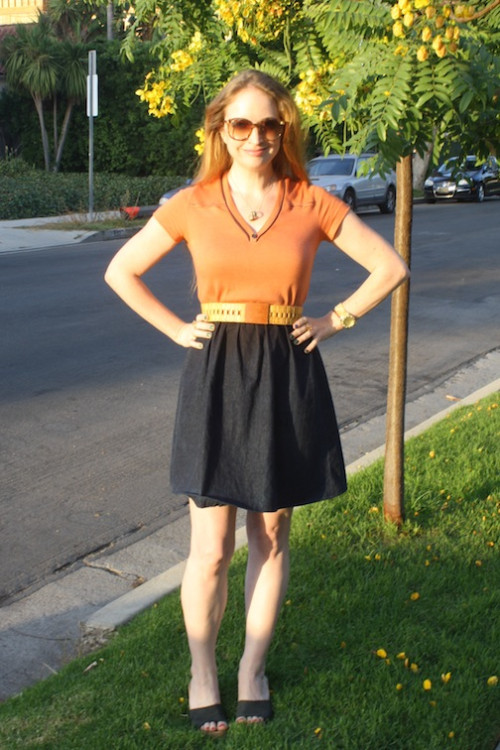
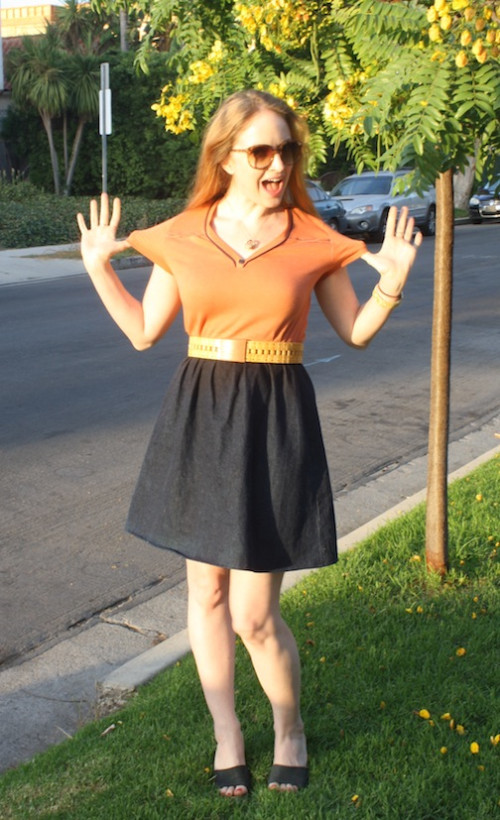
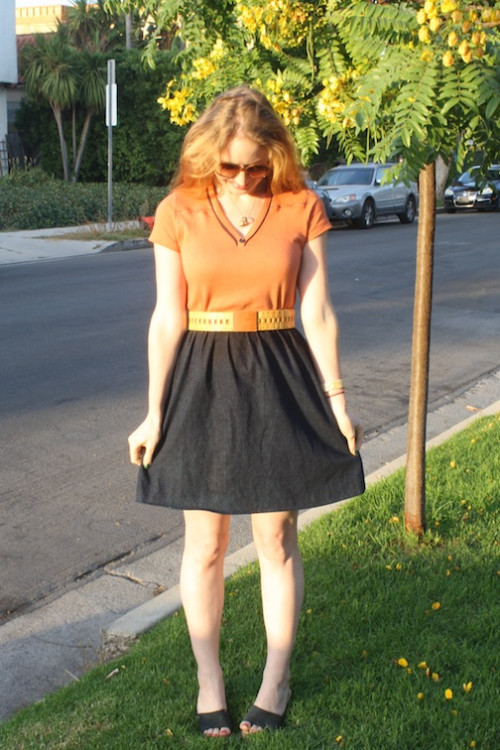
See how the whole piece looks now!
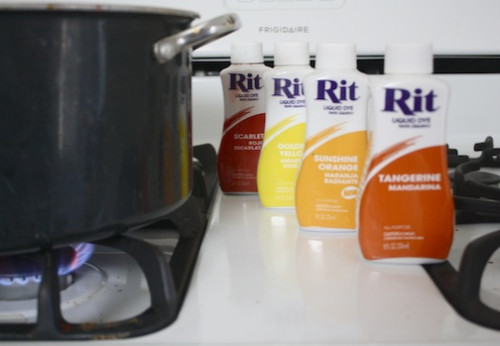
After coordinating votes from the comment section here, on Twitter, Instagram, Facebook, and individual emails, the color choice that won was coral! To get the right shade, I took four dyes (Tangerine, Sunshine Orange, Golden Yellow, and Scarlet) and mixed them together. I started with 1/4 cup-ish of Tangerine and then 1/8 cup-ish of Scarlet, and then fine tuned the shade with drips of the other two shades.
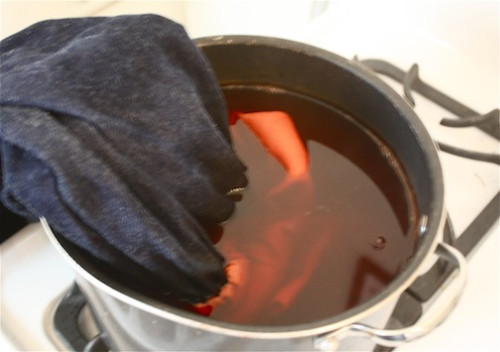
I made my dye bath and then added in the top portion of the dress!
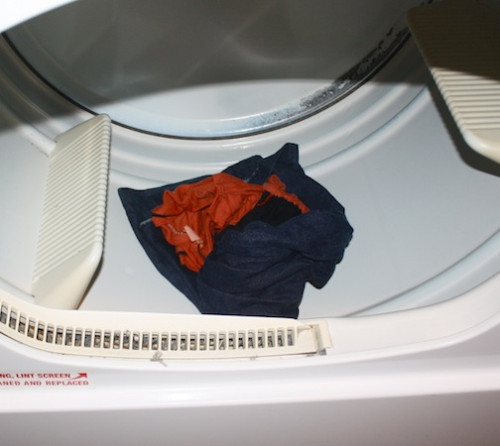
Post dye, I ran water through the piece until the color ran clear and then tossed it into the dryer!
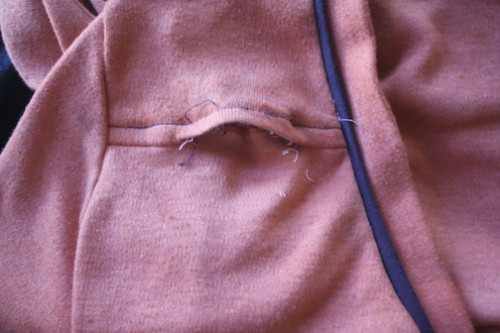
I hit those patchy pockets next - I took a seam ripper and started to remove stitches.
The pockets came out...
...and the pins went in to prep for restitching.
I stitched the pockets...
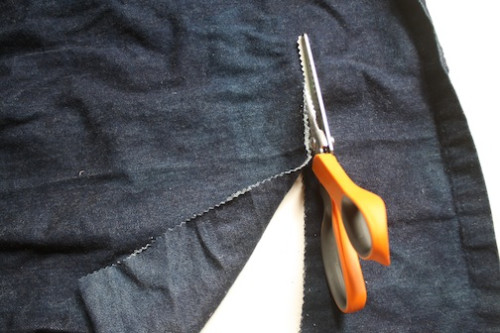
...and then began work on the skirt portion! I took the dress a bit shorter...
...pinned the raw edges down...
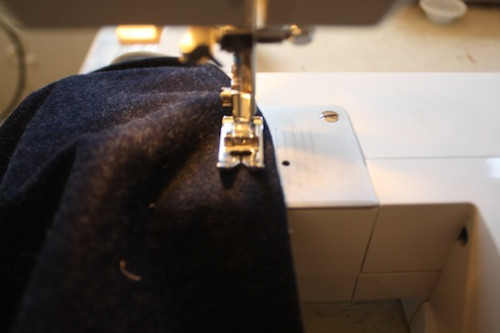
...and then stitched a brand new hem!
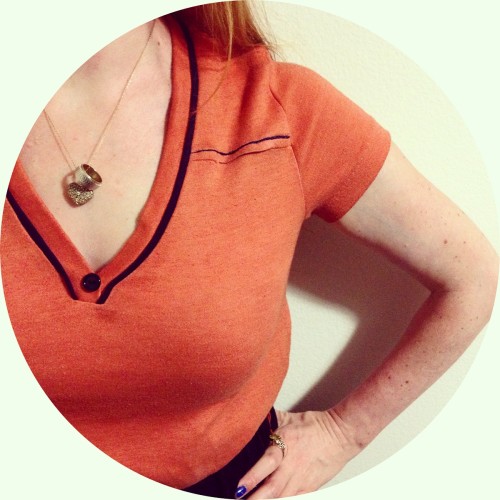
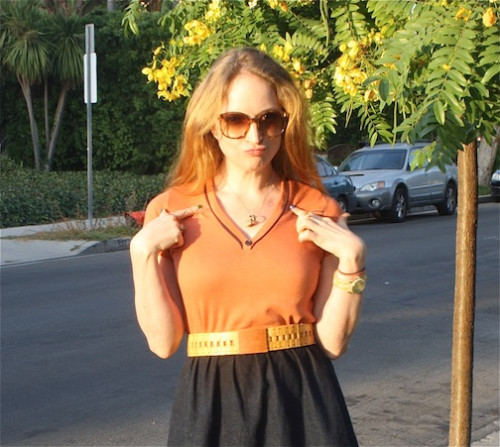
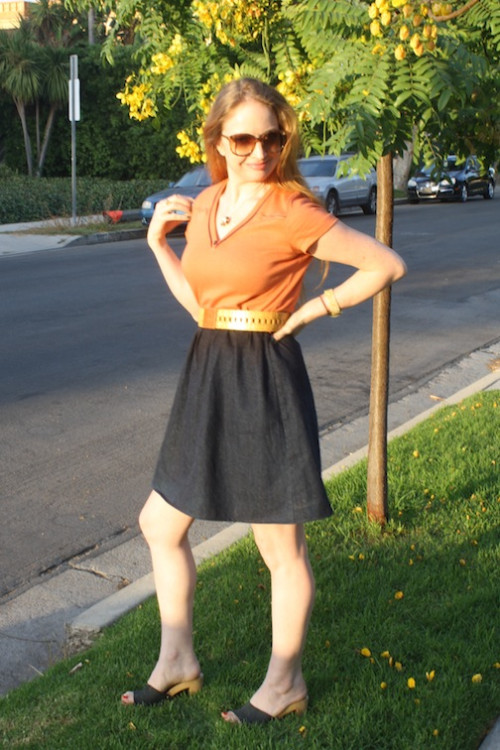
Check out the new dress!!
Those pesky pockets are gone!!
That bluish shade of the top of the dress was gone!!
What a fun summery color this turned out!!
I continued with the 70s vibe by adding my vintage Candies and my dad's bamboo belt that he actually wore back then. I totally need a picture of him wearing this!
Colorful and comfortable!
Total score!


